Перейти к основному содержанию Перейти к нижнему колонтитулу
Effective troubleshooting(car fridge not cooling) is the only process separating a successful delivery from thousands of dollars in spoiled temperature-sensitive cargo. A single E1 error code or unexpected shutdown can compromise an entire shipment, creating significant operational downtime and financial loss, especially for fleets transporting medical supplies or perishable goods.
This technical guide provides a standard procedure for diagnosing these failures. We focus on the most common point of failure: the vehicle’s electrical system. This includes explaining why the E1 error is almost always a voltage drop issue from inadequate wiring, not a fridge defect, and outlining the correct steps for calibrating a temperature sensor to ensure accurate readings.
The “E1” Error: Why Is It Usually the Car Wiring, Not the Fridge?
The E1 error code is a protective shutdown triggered by low or high voltage, and in most field cases, the root cause is inadequate vehicle wiring or a corroded connection, not a malfunction in the refrigerator itself.
Low Voltage Protection Trigger
The E1 error code signals that the DC input voltage has moved outside the refrigerator’s safe operating range, typically between 10.4 and 15 volts. This is a built-in safety feature—part of the 3-Stage Battery Protection system—designed to protect the unit’s compressor and electronics from damage. When the voltage drops too low (e.g., when the car battery is weak) or spikes too high (e.g., during engine startup), the system shuts down to prevent component failure.
- Indicates the system’s input voltage has dropped below 10.4V or exceeded 15V.
- The protection system typically triggers a beeping alarm and displays a voltage icon.
- This shutdown prevents damage to the refrigerator during vehicle startup or when the battery is low.

Inadequate Wire Gauge and Corrosion
The primary cause of an E1 error is almost always the vehicle’s wiring, not the refrigerator. Wires with an insufficient gauge (too thin) or corroded connections create high resistance. This resistance leads to a significant voltage drop before the power even reaches the fridge. Even with a fully charged battery, a poor connection can cause the voltage at the fridge’s plug to fall below the 10.4V threshold when the compressor kicks in, triggering the error.
| Метрическая система | Common Faulty Setup (Causes E1 Error) | Correct Dedicated Circuit (Prevents E1 Error) |
|---|---|---|
| Источник питания | Standard 12V cigarette lighter socket | Directly hardwired to the battery or fuse box |
| Калибр провода | Thin factory wiring (16-18 AWG) | Thicker, dedicated wiring (10-12 AWG) |
| Voltage Drop | Often >0.4V under compressor load | Minimal (<0.2V) under compressor load |
Faulty Power Sources and Converters
Beyond the wiring, the E1 error can point to issues with the main power source or any components that manage it. An inconsistent shore power supply, a weak or failing battery, or a malfunctioning AC-to-DC converter can all create the voltage instability that triggers the protection mode. The error is simply reporting the quality of the power it receives.
- Inconsistent shore power can cause voltage fluctuations that trigger the E1 error.
- A vehicle battery that is old, damaged, or insufficiently charged may not provide stable voltage.
- The power converter, responsible for changing AC to DC power, can malfunction and fail to supply the correct voltage.
Systematic Electrical Chain Inspection
To diagnose an E1 error correctly, a technician must perform a systematic check of the entire electrical path. Before assuming the refrigerator is at fault, every component from the power source to the unit’s connection point should be inspected. This process isolates the true point of failure, which is rarely the fridge itself.
- Verify the stability and consistency of the shore power supply.
- Test the battery’s condition, charge level, and voltage rating under load.
- Check the converter’s function to ensure it provides a stable DC output.
- Inspect all wiring connections for tightness, damage, and any signs of corrosion.
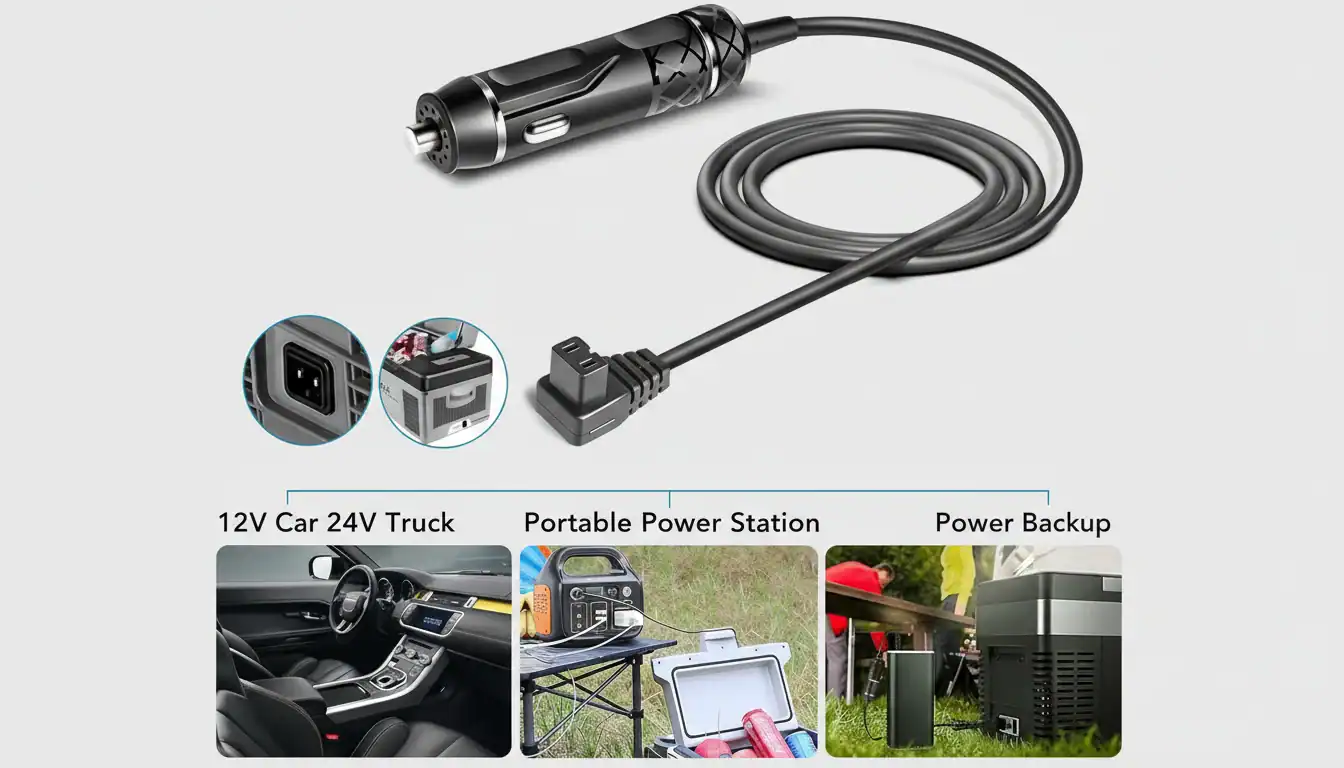
Cable Loss: Why Do Cigarette Lighters Fail Under 5A Load?
Vehicle cigarette lighter sockets are engineered for low-power, intermittent use, not for the sustained 5A+ current draw of a modern compressor fridge, which causes significant voltage drop and heat buildup in undersized factory wiring.
Inadequate Wire Gauge and Voltage Drop
Most vehicle manufacturers install thin-gauge wiring for accessory sockets, sufficient for charging a phone but not for running a compressor fridge. When an appliance pulls a continuous 5A or more, this undersized wiring creates high electrical resistance. The resulting power loss manifests as heat, which degrades the wire’s insulation and connectors over time and causes a significant voltage drop before the power even reaches the appliance.
- Standard automotive wiring for these sockets is sized for intermittent, low-amperage accessories, not continuous high-draw applications.
- The high resistance in thin wires converts electrical power into damaging heat along the cable’s entire length.
- This voltage drop starves the appliance of the necessary 12V, impairing performance and often triggering the fridge’s low-voltage protection cutoff.
High Resistance from Poor Connections and Corrosion
The physical socket itself is a primary failure point. Any corrosion from moisture, debris in the socket, or a physically loose connection dramatically increases electrical resistance. Under a 5A load, this single point of high resistance generates enough heat to melt the plastic on the plug, damage the socket, or break the electrical connection entirely.
- Dirt, dust, and moisture cause corrosion on the metal contacts, which obstructs the clean flow of electricity.
- A worn-out spring mechanism in the socket leads to a poor fit, causing intermittent contact that can arc and generate intense heat.
- The small surface area of a standard cigarette lighter plug is simply not designed for efficient high-current transfer, making it a natural bottleneck for overheating.
Circuit Protection and Fuse Limitations
Automotive accessory circuits are protected by a fuse, typically rated for 10A or 15A. A 5A continuous load may seem safe, but the startup surge from a compressor motor can briefly draw 7-8A or more. When combined with existing high resistance in the circuit, this initial power demand is often enough to blow the fuse. The fuse does its job by preventing wiring damage, but it also signals a fundamental incompatibility between the appliance’s power needs and the circuit’s capability.
- The fuse is the designated weak link, designed to fail first to protect the vehicle from a potential electrical fire.
- A 5A compressor fridge can easily have a startup surge that exceeds the fuse’s tolerance, especially in an older or high-resistance circuit.
- Repeatedly blown fuses are a clear indicator that the circuit is overloaded and not suitable for the device being used.
Усильте свой бренд с помощью автомобильных охладителей на заказ

Ventilation Blockage: Is the Airflow to the Condenser Obstructed?
A blocked condenser forces the compressor to work harder to dissipate heat, directly reducing cooling performance and risking premature component failure.
Common Causes of Condenser Blockage
External debris accumulation is the most frequent cause of obstructed condenser airflow. By 2026, it stands as a primary failure mode for vehicles operating in harsh environmental conditions. The condenser’s position at the front of the vehicle makes it highly susceptible to blockage from everyday use.
- Road debris, leaves, insects, and grime get lodged between the condenser fins, restricting air passage.
- Physical damage, such as bent fins from road impacts or improper cleaning, creates physical barriers to airflow.
- Close proximity to other components like the radiator can trap debris between them, reducing ventilation for both systems.
Symptoms of Insufficient Airflow
A blocked condenser forces the entire cooling system to work harder, leading to noticeable performance drops and potential component damage. The most common symptom is a gradual loss of cooling efficiency inside the cabin, which becomes more obvious under specific conditions.
- Reduced cooling performance, especially when the vehicle is stationary or moving at low speeds where natural airflow is minimal.
- The compressor may cycle on and off more frequently or run continuously as it struggles to cool the refrigerant.
- In severe cases, the system can overheat, leading to premature failure of the compressor—a costly repair.
Diagnostic and Inspection Techniques
Modern vehicle maintenance focuses on early detection of airflow issues. Technicians use a combination of visual checks and advanced tools to identify blockages before they cause significant damage to the cooling system.
- A direct visual inspection of the front of the condenser is the first and simplest step to identify visible debris or fin damage.
- Thermographic diagnostic tools can detect hot spots on the condenser coil, which are clear indicators of poor airflow in specific areas.
- Some advanced vehicles feature integrated thermal sensors that alert the system to overheating patterns associated with blockages.
Solutions for Restoring Ventilation
The market has shifted toward straightforward cleaning methods and preventive measures to maintain system performance and extend component lifespan. These solutions focus on practicality and long-term effectiveness.
- Gently washing the condenser with a low-pressure water stream or using specialized condenser cleaning foam to dissolve grime.
- Carefully straightening bent fins with a fin comb tool to restore the designed air passage channels.
- Installing protective mesh or screens behind the vehicle’s grille to prevent larger debris from reaching the condenser in the first place.
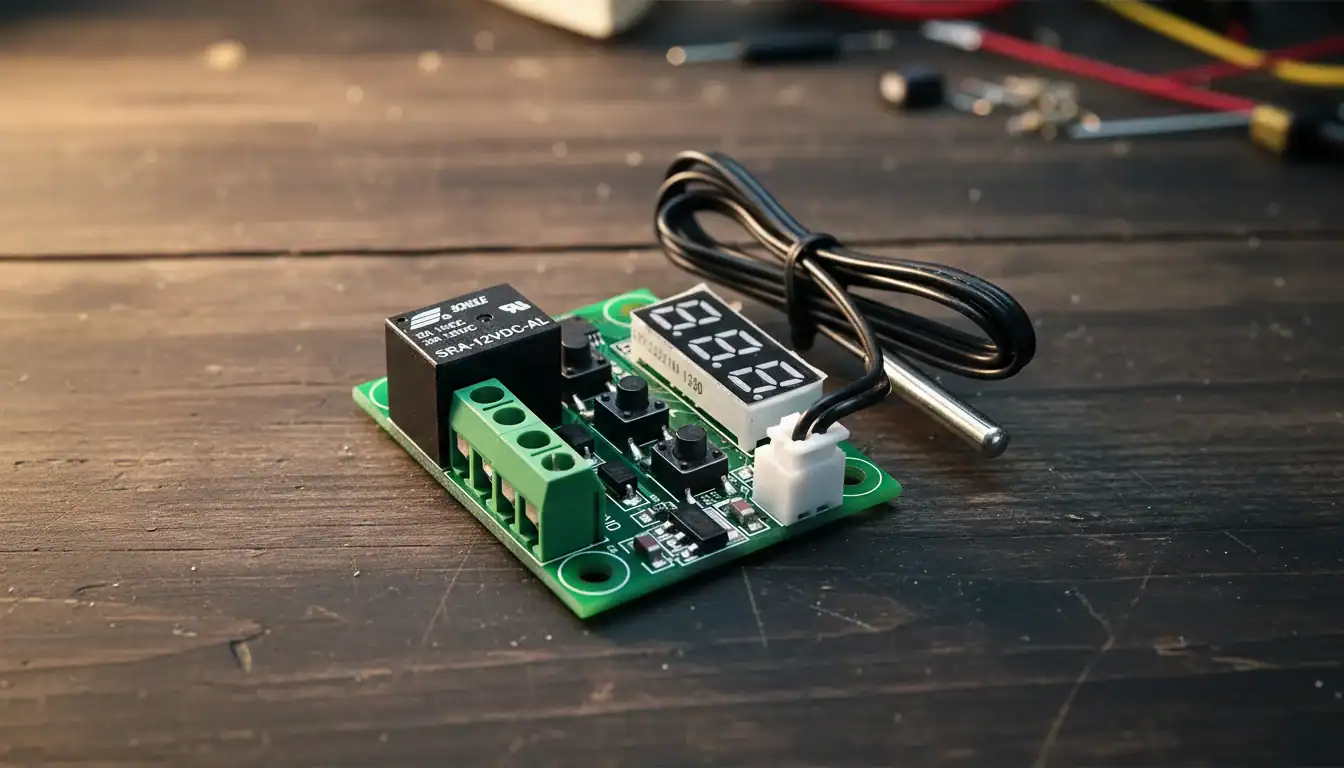
Sensor Calibration: How Do You Fix Temperature Discrepancies?
Accurate temperature readings are not automatic; they require a structured calibration process against a certified reference to correct for sensor inaccuracies and long-term performance drift.
Adopting Standardized Multi-Point Calibration
To fix temperature inaccuracies, a structured calibration process is essential. Simply checking one temperature point is not enough, as a sensor can be accurate at 5°C but drift significantly at -15°C. A multi-point approach verifies the sensor’s linear accuracy across its entire operational range, ensuring reliability whether it’s cooling beverages or deep-freezing contents. This method confirms consistent performance at all critical temperature setpoints.
- Test the sensor at low, medium, and high temperature setpoints relevant to its intended use.
- Use a NIST-traceable reference thermometer to get a true temperature reading for comparison.
- Calculate the offset at each point to adjust the sensor’s output, ensuring linear accuracy.
Using an External Reference Sensor for Accuracy
A fridge’s built-in sensor may be the source of the problem. You can verify its readings by placing a high-precision, externally certified temperature probe directly next to it. This reference sensor provides the ground-truth temperature inside the unit, exposing the exact discrepancy of the built-in sensor. The difference between the two readings is the correction value needed to bring the system back into specification.
| Параметр | Basic Spot Check (Unreliable) | Multi-Point Calibration (Professional Standard) |
|---|---|---|
| Reference Tool | Uncertified consumer thermometer | NIST-traceable digital probe with low uncertainty |
| Test Points | One arbitrary temperature | Multiple points (e.g., -18°C, 0°C, 5°C) |
| Outcome | False sense of accuracy; misses non-linear errors | Verifiable accuracy across the entire operating range |
| Drift Detection | Cannot reliably identify performance degradation | Logs historical data to track sensor drift over time |
- Select a reference sensor with documented low uncertainty, like one verified by a dry-block calibrator.
- Allow both the internal and external sensors to stabilize for at least 30 minutes before taking a reading.
- The difference between the two readings is the correction value you need to apply.
Monitoring for Sensor Drift Over Time
Temperature sensors are not static components; they lose accuracy over time from thermal stress and aging. This phenomenon, known as sensor drift, requires regular checks to identify and correct degradation. Ignoring drift leads to improper cooling, freezing, or excessive energy consumption. A proactive maintenance schedule is the only way to ensure long-term performance.
- Implement a schedule for re-calibration, especially for equipment used frequently or in harsh conditions.
- Keep a log of all calibration adjustments to track the sensor’s performance history.
- If a sensor requires frequent, significant adjustments, it has reached the end of its service life and needs to be replaced.
Заключение
Resolving E1 errors and performance issues often comes down to the power source, not a defect in the fridge itself. A stable voltage supply from the vehicle’s wiring is essential for the compressor to operate reliably. Addressing these power delivery factors ensures consistent cooling performance and prevents unnecessary service claims.
We encourage your support teams to use this guide to diagnose vehicle-side issues before processing a return. For detailed technical schematics or support with a specific OEM model, please contact our engineering department.
Часто задаваемые вопросы
What does the “E1” error code on the display mean?
The E1 error code indicates a critical voltage issue. The refrigerator has detected that the input voltage from your power source is either too low or too high, falling outside its safe operating range (typically 10.4V to 15V DC). The most common cause is a voltage drop resulting from inadequate wire gauge, a long wire run, or corroded connections. It can also be triggered by a failing battery or a problem with the vehicle’s charging system.
How do I calibrate the temperature sensor if it reads wrong?
Most 12V refrigerators do not have a direct user calibration function. Instead, they often feature a temperature compensation or “offset” setting in an advanced menu. To adjust it, place a calibrated thermometer inside a glass of water in the center of the fridge for 4-6 hours to get a stable reading. Compare this reading to the fridge’s display. Access the advanced settings (check your manual for the button combination) and adjust the temperature offset value up or down until the display matches your thermometer. If no offset feature exists, the sensor may need professional replacement.
Why does the fridge stop working when the engine is turned off?
This is a normal function of the built-in Battery Protection System. This feature automatically shuts the fridge off when the source voltage drops below a preset level to prevent draining your vehicle’s starting battery. When the engine runs, the alternator provides a higher voltage (~14V). When off, the battery voltage (~12.6V or less) can fall below the protection cutoff. To fix this, change the battery protection setting from High to Medium or Low, which allows the fridge to run at a lower battery voltage.
How can I test if the issue is the power cord or the fridge?
First, perform a visual inspection of the cord for any cuts, kinks, or bent pins. The most reliable method is to use a multimeter. Set it to DC Volts and, with the cord plugged into your vehicle, carefully test the voltage at the connector end that plugs into the fridge. A healthy cord should read between 12.5V and 14.5V. If you get no reading or a very low one, the cord or the vehicle’s power socket is the problem. You can also try a different power source, like an AC adapter, to see if the fridge powers on, which would isolate the issue to the 12V DC cord.