 메인 콘텐츠로 건너뛰기 푸터로 건너뛰기


휴대용 차냉장고 트러블슈팅 3항은 구매자가 공급업체, 예산, 생산 스케줄을 승인하기 전에 반드시 확립해야 할 첫 번째 점검 포인트입니다. 휴대용 차냉장고 트러블슈팅: 실패하는 3가지 저가 부품은 구매자가 공급업체, 예산, 생산 스케줄을 승인하기 전에 반드시 확립해야 할 첫 번째 점검 포인트입니다. 양산 품질은 사전 시제품과 실제 컨테이너 반입 제품 사이의 격차에서 결정됩니다. $50K 주문은 2. 샘플 승인 뚜껑 씰은 완벽하고 래치는 부드럽게 작동하며 배수 플러그가 잘 맞춰지는 조건으로 통과된 것처럼 보이다가도, 기준 시제품보다 경도가 몇 Shore A 점 더 낮은 고무 씰, 자외선 안정제가 배제된 상태로 성형된 플러그, 세 번째 사용 시 걸리는 래치를 탑재한 채 출고될 수 있습니다. 압축기는 거의 원인이 아닙니다. 문제의 핵심은 $5 씰과 $0.40 배수 플러그입니다.
대부분의 매뉴얼은 이 부분을 완전히 생략합니다. 소비 전력 60W, 소음 45dB, 작동 온도 -20°C~20°C와 같은 사양만 인쇄할 뿐, 차량 내부의 자외선과 오존이 2~3년 이내에 씰 고무에 균열을 일으킨다는 사실은 언급하지 않습니다. 한 번 씰이 손상되면 냉기가 외부로 새고 압축기는 계속 가동되며, 고객은 ‘냉방 불가’ 민원을 제기하게 됩니다. 압축기에 문제는 없습니다. 씰이 망가진 것입니다. 이는 $100 수리가 아닌, $5 교체로 해결할 수 있는 사안입니다.
자체 브랜드용 냉장고를 소싱할 때 교훈은 명확합니다. 소부품의 재료 품질을 일정하게 유지하지 못하는 공급업체는 포빙 가격으로 아낀 금액을 모두 사라지게 할 애프터서비스 부담을 안겨줍니다. 어떤 부품이 왜 고장 나는지, 컨테이너 출하 전 어떤 항목을 확인해야 하는지 알아두세요. 그것이 곧 게임의 전부입니다.

뚜껑 씰 — 냉기를 지켜내는 마지막 방어선
휴대용 차냉장고가 냉각되지 않는 #1 원인, 그것은 압축기가 아닙니다.
캠핑 시즌 이후 냉장고를 꺼내 전원을 연결해도 불은 들어오지만 냉기가 생기지 않는 경우가 있습니다. 압축기를 탓하기 전에 뚜껑 씰을 확인하세요.
균열이 생긴 가스켓은 냉기를 새게 만들어 압축기가 계속 작동하지만 내부 온도는 설정치에 도달하지 못합니다. 씰 교체 비용은 $5 미만이지만, 압축기 수리는 $100을 초과합니다.
씰이 균열이 생기는 이유
우드윙드를 통한 자외선 노출, 차량 전자제품의 오존, 및 실내에서 발생하는 오일 증기가 고무 재질을 열화시킵니다. 주차된 차량 내부의 급격한 온도 변화는 이러한 손상을 가속화하며, 씰은 보통 2~3년 내에 균열이 생기기 시작합니다.
KelyLands 차량 냉장고 라인을 뒷받침하는 닝보 기반의 휴대용 냉장고 전문 제조업체는 미니 냉장고와 카 쿨러가 2018년부터 지원 재고를 구축하여 교체용 뚜껑 씰, 래치 및 배수 플러그를 언제나 확보하고 있으므로, 차량 냉장고 뚜껑 씰 교체가 별도의 엔지니어링 공사를 필요로 하지 않습니다.
씰을 찢지 않고 청소하기
부드러운 천과 mild 비누물을 사용해 가스켓을 닦아냅니다. 용제 기반 세제나 강abrasive 패드는 미세한 균열을 만들어 누출 경로가 되므로 절대 사용하지 마세요. 청소 후에는 고무의 유연성을 유지하기 위해 식품 등급 실리콘 그리스(silicone grease)를 얇게 도포하세요.
느린 누출을 확인하는 30초 테스트
종이 한 장을 넣고 뚜껑을 닫은 뒤 당겨보세요. 미끄러지듯 쉽게 빠져나온다면 씰이 헐겁거나 균열이 있다는 뜻이고, 저항이 느껴진다면 가스켓이 여전히 밀폐 상태를 유지하고 있다는 의미입니다. 두 번째 확인 방법으로 어두운 차량 내부에서 flashlight를 닫힌 뚜껑 주변에 비추고 빛이 새어나오지 않는지 확인하세요.
누출을 조기에 발견하면 수리 비용은 커피 한 잔 값보다 저렴합니다. 방치할 경우 압축기가 고장 나, $5 수준의 간단한 문제가 $100+의 치명적 결함으로 이어집니다.

배수 — 응축수는 반드시 배출되어야 합니다
균열이 간 배수 플러그는 겉으로 보이는 누출은 없지만, 안쪽부터 고정 브래킷을 녹슬게 만듭니다.
휴대용 차량 냉장고 내부의 결로는 정상 현상입니다. 뚜껑을 열 때마다 따뜻하고 습한 공기가 유입되어 차가운 내부와 접촉하면서 물방울이 맺힙니다. 배수 채널은 이 물을 튜브를 통해 냉장고 바닥外面으로 배출합니다. 이 채널이 막히면 물이 음식 아래에 고이거나, 최악의 경우 균열난 플러그를 통해새어나 차량 바닥을 적십니다.
배수 튜브: puncture 없이 막힘 제거하기
막힌 배수구에는 보통 음식물 찌꺼기, 먼지 또는 얼음이 끼어 있습니다. 파이프 클리너나 가느다란 유연한 와이어로 제거하세요. 드라이버나 날카로운 물건은 절대 사용하지 마세요. 한 번 실수하면 내부 라이너에 스크래치가 생깁니다. 얼음이 원인일 경우 끓는 물 대신 따뜻한 물을 배수 구멍에 부어주세요. 극심한 열은 플라스틱 채널을 변형시켜 누출을 영구적으로 만들 수 있습니다.
배수 플러그 재질: 고무 vs 단단한 플라스틱
대부분의 냉장고는 고무 배수 플러그를 기본 제공합니다. 고무는 초기에는 밀봉이 잘 되지만 시간이 지나면 점점이 변하거나 부서지기 쉬워져 결국 물이 새는 원인이 됩니다. 단단한 플라스틱 플러그는 분해를 막지만 잘못 정렬된 상태에서 무리하게 꽂으면 금이 갈 수 있습니다. 더 좋은 사양은 실리콘 플러그로, 온도 변화에도 형태가 유지되며 배수구 하우징에 붙지 않습니다. 교체 비용은 압축기 서비스 호출 비용의 몇 분의 일 수준이므로, 이 부분에 대해 고객과 간단히 논의하는 것이 좋습니다.
-
- 긴 여행 후 점검: 배수 플러그 주변에 습기가 있는지 확인합니다. 건조해 보이는 딱지는 천천히 누수되어 나중에 하단의 장착 볼트를 녹일 수 있다는 신호입니다.
- 원산지: 튜브를 청소할 때 실린 표면 균열이 없는지 검사합니다. KelyLands가 생산 협력을 진행하는 냉장고는 청소 중 걸림을 줄이는 홈통형 배수 채널을 사용합니다.
래치 및 힌지 — 문 잠김 현상 및 하우징 균열
잠금 장치는 도어의 가장 싼 부품이지만 현장 complaints(민원)을 가장 많이 유발하는 부분입니다.
유통업체들은 ‘카冰箱 도어 래치 작동 불만’을 보고 불량 배치로 단정짓습니다. 대부분 래치는 정상이며, 모래와 먼지가 메커니즘을 연마석처럼 만들어버린 것입니다. 해결 방법은 지원 이메일을 작성하는 것보다 훨씬 간단합니다.
래치 메커니즘 내 모래 및 잔진흙
오프로드 주행 시 미세 먼지가 눈에 띄는 손잡이가 아닌 래치 캠 안쪽으로 들어갑니다. 매번 열고 닫을 때마다 석 grit이 축에 달라붙어 래치가 딸깍 거리면서 작동하지 않는 문제가 발생합니다. 해변이나 사막 여행 후에는 압축 공기 호스로 래치 내부의 이물질을 제거합니다. 12V 압축기에 블로우 노즐만 있다면 충분합니다.
래치가 이미 막힌 경우, 무리하기 전에 커버를 제거하고 캠 슬롯을 브러시로 청소합니다. 이물질이 가득 찬 래치를 억지로 힘주면 성형 플라스틱 하우징이 손상됩니다. 이는 단순한 청소 작업($2)을 하우징 수리로 만들 수 있습니다.
식품 등급 실리콘 그리스로 윤활 처리
석유 계열 그리스 대신 식품 등급 실리콘 그리스를 사용하십시오. 석유 제품은 플라스틱을 연하게 만들고 더 많은 dirt를 끌어당겨 페이스트 상태를 만들어 마모를 촉진합니다. 래치 캠과 축점에 얇게 바르고 래치를 5회 작동시킨 뒤 남은 그리스는 닦아내십시오.
KelyLands의’ 미니 냉장고 및 차량용 쿨러 스페어 부품 키트에는 래치 핀, 씰 및 배수 플러그가 포함되어 있습니다. 이는 의도적인 설계로, 고객들이 정비소에 쉽게 접근하지 못하는 환경에서도 작은 교체 부품으로 냉장고 가동을 유지하고 반품을 방지하기 위함입니다.
도어 균열 전에 힌지 핀 마모 감지
히ンジ 핀 마모는 셸 균열보다 먼저 발생합니다. 뚜껑을 닫고 래치 쪽을 잡은 뒤 들어 올리면 수직 놀음이 보일 때 핀 소매가 마모된 것입니다. 핀은 저렴하지만 뚜껑 셸은 값비쌉니다. 고객이 깨진 힌지 봄을 받게 되기 전에 핀을 교체하세요.
거친 이동 후 힌지 나사도 확인하십시오. KelyLands 냉장고의 마운팅 볼트 사양은 8–10Nm입니다. 느슨한 힌지 볼트는 주행 중 뚜껑이 움직이게 하여 핀 마모를 가속화하고 래치 불일치를 유발합니다. 감이 아닌 사양에 맞게 조여 주세요.
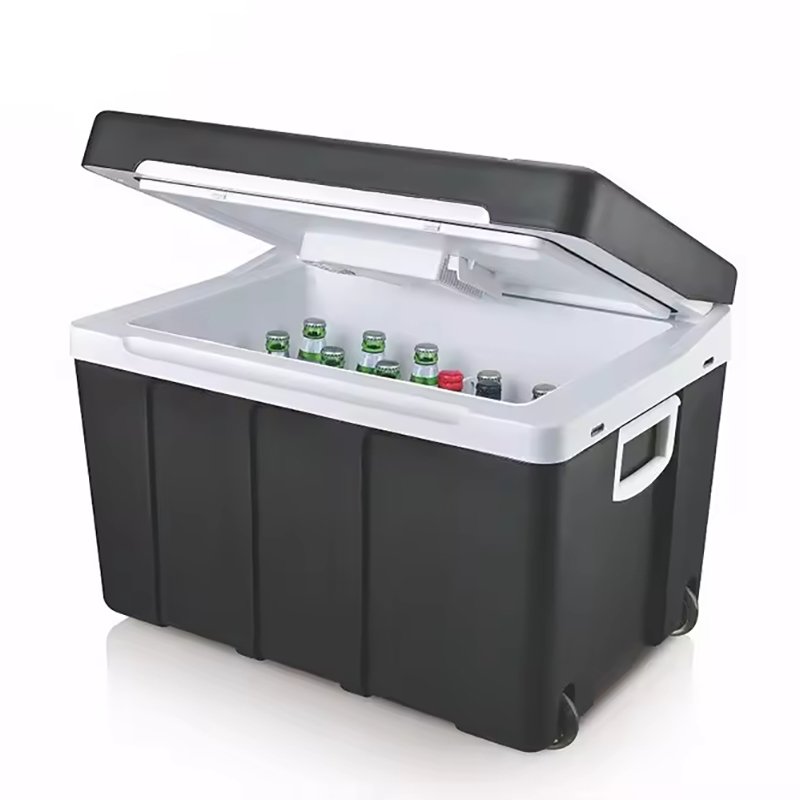
전원 케이블 및 배터리 보호 — 과부하 고장 방지
대부분의 “냉각 불가” 클레임은 압축기 고장보다 전압 문제가 원인입니다.
The classic field symptom: the fridge display lights up, but the compressor never runs. The cause is 전원 강하 under load. A 60W portable fridge pulls several amps at startup. Thin or corroded cables drop the input voltage below the 11.5V cutoff, so the compressor shuts itself off before it starts.
켈리랜드 2. 휴대용 냉장고를 run on DC 12V/24V input at 60W and use a SECOP or equivalent compressor. That low-voltage cutoff is a protection feature, not a fault. If a unit “lights up but won’t cool,” test the voltage at the fridge input first. Below 11.5V means the problem is on the power side, not the cooling side.
Check the Cigarette Lighter Plug and Wire Gauge
The cigarette lighter plug is the weakest link in the system. Spring contacts corrode, lose tension, and develop resistance under load. If the plug feels warm while the fridge is running, or the fridge resets when the vehicle hits a bump, that’s a bad connection. Replace the plug or hardwire the fridge.
-
-
- Voltage test: Measure at the fridge input with the compressor running. Anything below 11.5V means the cable or plug is robbing power.
- Wire gauge: Use 10 AWG or thicker for any 12V run longer than 10 feet. Factory-supplied skinny cables can pass a bench test and fail in a hot car.
- Hardwire option: Run 10 AWG to the battery through an in-line fuse. This removes the plug and socket contacts entirely, which are the two most common failure points.
-
Set the Battery Protect Function for Your Vehicle
Most portable fridges offer three battery protect levels: Low, Medium, High. Medium is the right default for most vehicles — it keeps the fridge running without draining the starter battery. On a secondary battery setup, Low gives longer runtime, but the risk of deep discharge is yours to manage.
-
- 낮음: Best for auxiliary or leisure batteries where deeper discharge is acceptable.
- 중간: Safe default for the starter battery in most cars and SUVs.
- 높음: Protects sensitive vehicle batteries, but the fridge may shut off early on hot days.
If a customer’s fridge keeps cutting out overnight on the Medium setting, the fridge isn’t the problem. Check the cable run, clean the terminals, and confirm the battery is healthy. Those three steps resolve more field failures than any spare compressor ever will.
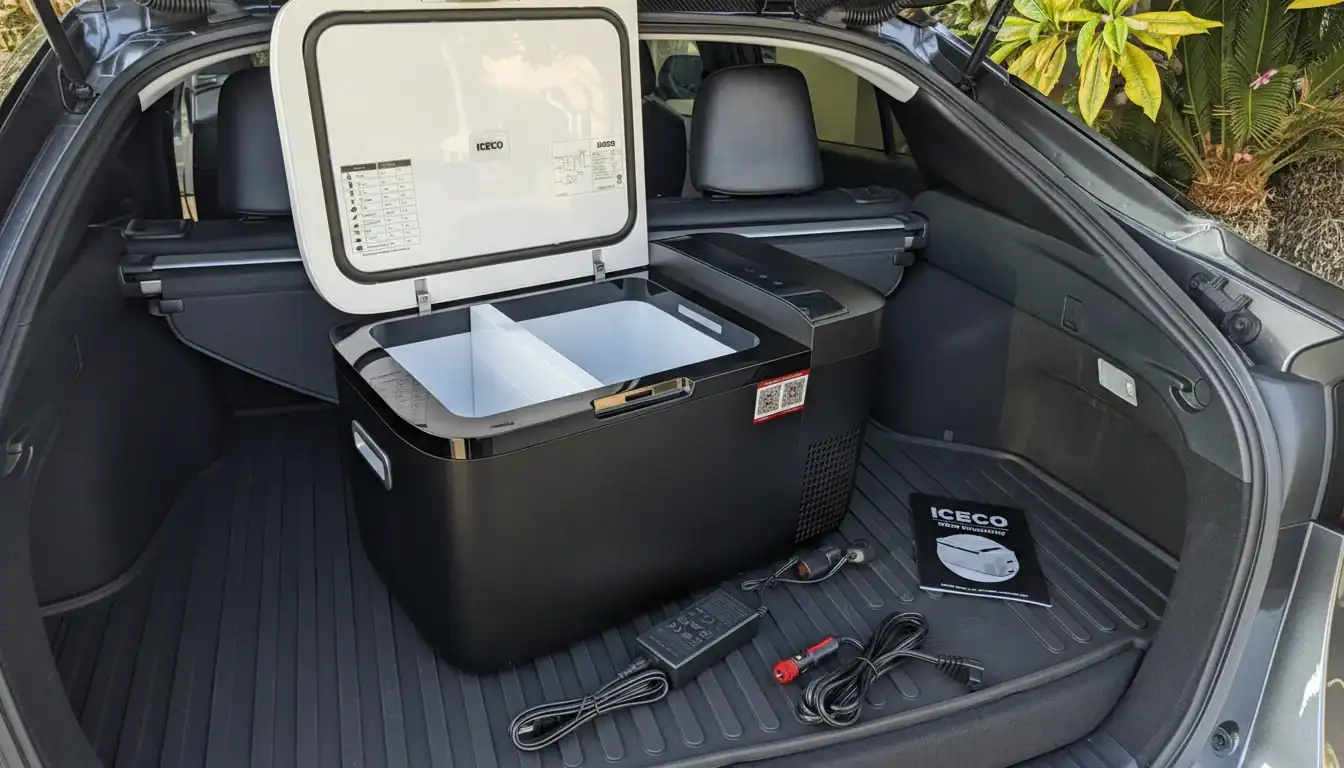
마운팅 및 진동 — 하단 고정 유지
Vibration doesn’t kill the compressor first.
A portable fridge bolted to the floor of a 4×4 absorbs thousands of vibration cycles per kilometer on a corrugated gravel track. The mounting system’s job is to isolate that energy before it reaches the base shell. When grommets harden or bolts loosen, the shell becomes the stress point — and that’s where cracks start.
Rubber grommets and compressor noise
그리고 compressor in a 12V fridge sits on rubber grommets for exactly one reason: to keep vibration from reaching the housing. Heat and ozone inside a parked car accelerate the hardening of those grommets. Once they lose flexibility, compressor vibration transmits straight into the base. A fridge rated at 45dB starts sounding like 60dB, and stress marks appear around the mount points.
-
- Replacement: Silicone grommets resist heat and ozone far better than natural rubber, so they keep the compressor isolated for a longer service life.
- 토크: Mounting bolts should sit at 8–10 Nm. Below that range, they work loose under sustained vibration.
You can spot worn grommets before they crack the shell. Run the fridge with the lid closed and place a hand on the base. If you feel a buzz rather than a low hum, the isolation mounts are done and need replacing.
 Checking bolts before washboard roads
Loose bolts aren’t just a noise issue; they multiply shock loading across the base shell. On corrugated roads, that stress shows up as hairline cracks around the mounting bosses. A thread-locking compound on every bolt and a torque check after any rough trip prevents the most common base-shell fracture pattern seen in the field.
The hidden cost of a flexing base shell
A flexing base shell also misaligns the drain tube, which makes water pool inside instead of draining out. It torques the lid seal, opening a micro-gap that leaks cold air and forces the compressor to run longer. Both failures share the same root cause: mounting on a surface that wasn’t flat and rigid.
KelyLands has operated a dedicated Ningbo fridge production facility since 2018, and the mounting bosses on those units are designed around the 8–10 Nm torque range so distributors don’t inherit undertorqued-bolt failures. That matters when your export team manages partnerships with over 500 clients across more than 50 countries — every return eats margin.
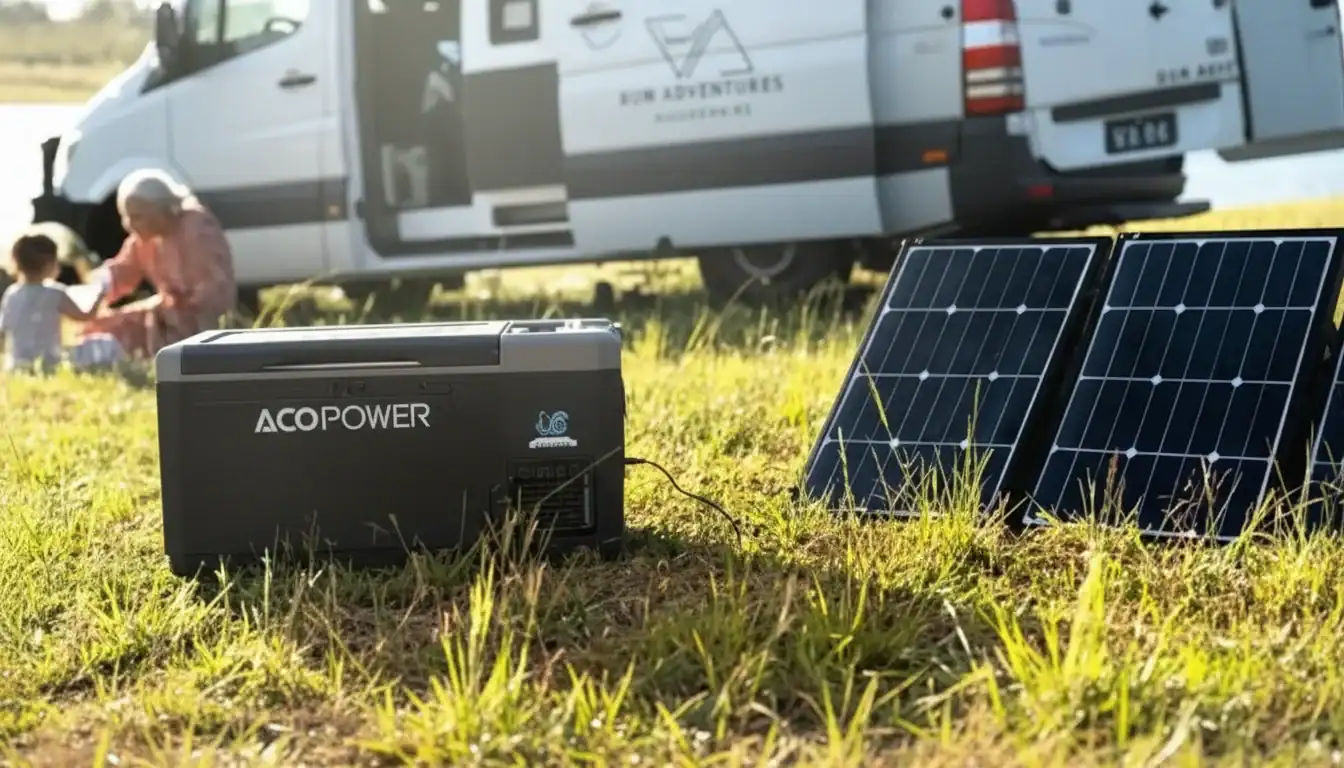
반품 또는 교체 시기 — 공장 지원 절차
A seized compressor is rare.
Most portable fridges returned as “dead” are not dead. The compressor runs, the light is on, but the box never gets cold. A cracked lid seal forces the compressor to run continuously, which looks exactly like a compressor fault to the end user.
Compressor fault or a serviceable part? Run this check first
Three symptoms point to a true compressor fault: the compressor body stays cold while the interior warms, the relay clicks without startup, or the unit draws power but never kicks in. Test with a known-good 12V source first — below 11.5V, the low-voltage cutoff blocks startup.
A seized compressor or failed start capacitor needs bench service. That runs over $100 with labor. A lid seal costs under $5 and takes minutes to replace. That cost gap is why every field failure needs a parts inspection before authorizing a return.
-
- Serviceable in the field: Cracked lid seal, clogged drain tube, jammed latch, corroded 12V 플러그 contacts, worn hinge pin. The seal costs under $5; the rest swap out with basic hand tools.
- Factory repair or replacement: Seized compressor, failed start capacitor, cracked shell from hinge stress, punctured drain tube. These need bench service and typically exceed $100.
A return shipment costs freight both ways and pulls inventory off the shelf for weeks. For a distributor, that math only makes sense when the compressor is truly at fault. Send the spare seal kit instead — the customer fixes it on site, and you avoid the return logistics bill entirely.
What KelyLands covers after the sale
KelyLands stocks replacement kits — seals, latches, drain plugs, hinge pins — for its portable fridge line with SECOP or equivalent compressors. The 2018 partnership with a Ningbo-based fridge factory secured competitive pricing and reliable delivery, and that extends to spare parts, not just complete fridges.
For OEM/ODM clients, after-sales coverage includes custom troubleshooting manuals and a dedicated service contact, so field failures get resolved without time-zone email ping-pong. The export sales team manages partnerships with over 500 clients across 50+ countries — the spare parts pipeline exists because these units ship worldwide.
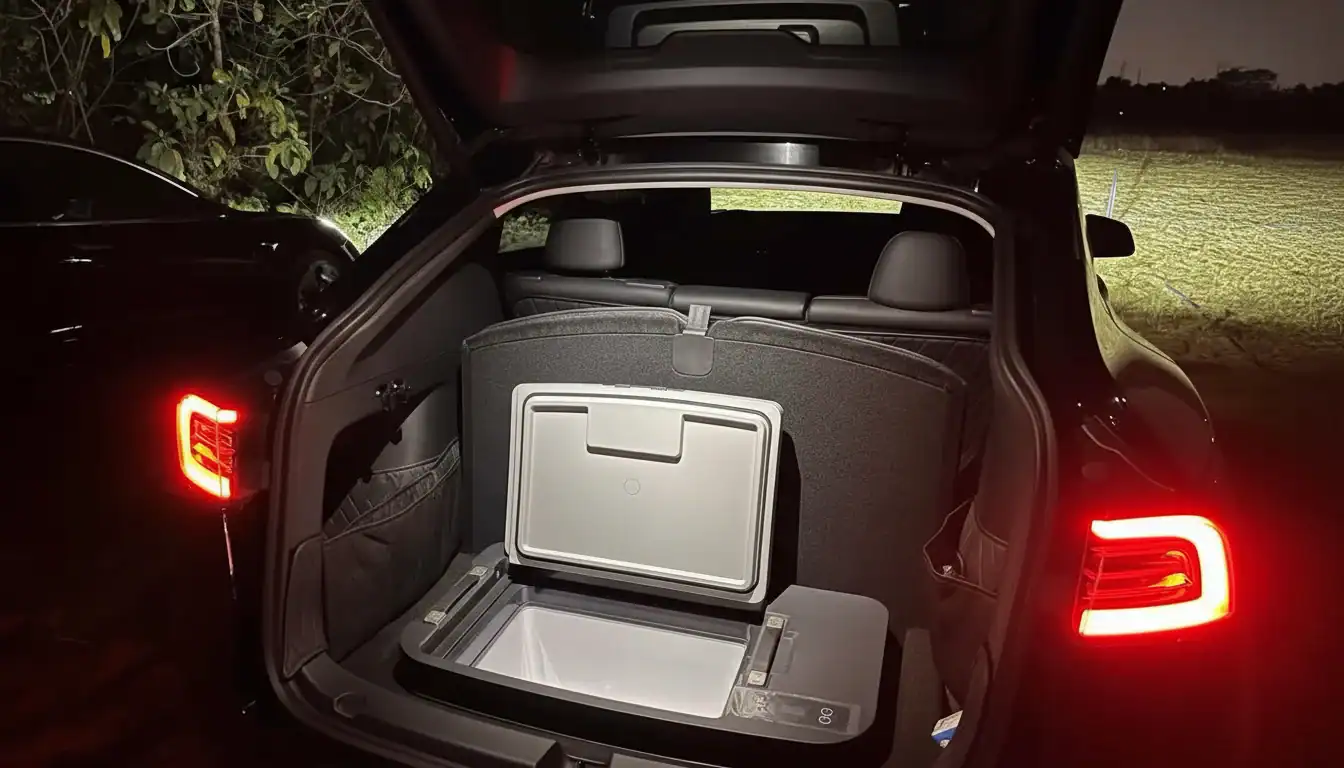
결론
A portable car fridge fails most often at its cheapest parts. A degraded lid seal forces the compressor to run non-stop until the unit reads as broken, when a $5 replacement would have avoided a $100+ repair. The steps above — gasket inspection, drain clearing, latch lubrication, and wiring checks — are the difference between a field failure and years of reliable service.
-
- A damaged lid seal causes most not-cooling failures; replacement runs under $5 versus $100+ for compressor work.
- UV and ozone degrade fridge gaskets within 2-3 years, so inspect seals every spring and before long trips.
- Voltage below 11.5V triggers compressor shutdown; hardwire with 10 AWG wire for runs over 10 feet.
- Check hinge pin play and mounting bolt torque (8-10 Nm) after rough off-road trips to avoid shell cracks.
Before your next purchase order, ask your supplier for three documents: the seal replacement part number, the drain plug material spec, and after-sales failure data on seal, drain, and latch components. A supplier who answers those questions without a follow-up call will protect your brand reputation when fridges fail in the field. Review the KelyLands 차량용 냉장고 range and request the factory test specs for seal compression and drain flow before committing.
자주 묻는 질문
왜 차량용 냉장고가 냉각은 안 되는데 불은 켜져 있나요?
가장 흔한 원인은 뚜껑 밀봉이 손상되어 냉기가 새어나가고 압축기가 정상 온도에 도달하지 못하는 경우입니다. 먼저 밀봉부에 금이나 틈이 있는지 확인하세요. 불이 켜지는지를 점검한 후, 부품 교체 전에 종이 테스트로 뚜껑 밀봉 상태를 점검하시기 바랍니다.
휴대용 냉장고의 배수구는 어떻게 청소하나요?
부드러운 브러시나 면봉, 약한 비누물을 사용해 배수 구멍을 청소하십시오. 배수 플러그가 깨지고 습기가 브라켓 하드웨어에 닿는 것을 방지하기 위해 단단한 금속 도구는 사용하지 마십시오. 청소 후 깨끗한 물로 헹구고 통로를 건조시키십시오.
자동차 냉장고 도어 잠금 장치 윤활의 최선의 방법은 무엇인가요?
래치 메커니즘을 먼저 청소한 후, 움직이는 접점 부분에 실리콘 그리스 얇은 층을 바릅니다. 석유 기반 제품은 먼지를 끌어들일 수 있으며 플라스틱이나 고무 부품을 손상시킬 수 있으므로 피하세요. 래치를 몇 번 작동시켜 잔여물을 닦아냅니다.
자동차 냉장고 뚜껑 씰을 직접 교체할 수 있나요?
예, 기존 씰 프로파일과 호환되거나 범용 가스켓 스트립을 구매할 수 있다면 가능합니다. 홈을 청소한 후 새 씰을 균일하게 장착하고 도어가 늘어나지 않도록 주의하세요. 냉장고에 적재하기 전에 종이 테스트를 둘레 전체로 실행하여 밀폐 상태를 확인하세요.
자동차 냉장고가 배터리를 방전시키는 것을 어떻게 방지할 수 있나요?
Use the fridge’s built-in low-voltage cutoff or set a battery protection level so it shuts off before the car won’t start. For overnight use, connect to an auxiliary battery rather. Confirm the cutoff voltage matches your vehicle battery type before long trips.

 English
 Español
 Français
 Deutsch
 Português do Brasil
 Русский
 한국어
 日本語
 العربية