 Pular para o conteúdo principal Pular para o rodapé


portable car fridge troubleshooting 3 is the first checkpoint buyers should lock before they approve a supplier, budget, or production slot. Portable Car Fridge Troubleshooting: 3 Cheap Parts That Fail is the first checkpoint buyers should lock before they approve a supplier, budget, or production slot. The gap between the pre-production sample and what actually lands in the container is where portable car fridge reliability gets decided. A $50K order can pass a aprovação da amostra with a crisp lid seal, a smooth latch, and a drain plug that seats perfectly — then ship with seal rubber a few Shore A points softer than the reference sample, a plug molded without its UV stabilizer, and a latch that jams on the third trip. The compressor is rarely the culprit. The $5 seal and the $0.40 drain plug are.
Most manuals skip this part entirely. They print the specs — 60W draw, 45dB noise, -20°C to 20°C range — and never mention that UV and ozone inside a car cabin crack seal rubber within 2-3 years. Once that seal goes, cold air escapes, the compressor runs nonstop, and the customer files a ‘not cooling’ complaint. The compressor is fine. The seal is dead. That’s a $5 replacement, not a $100 repair.
When you’re sourcing fridges for your own brand, the lesson is direct. A supplier who can’t hold consistent material quality on the small parts will hand you an after-sales burden that erases whatever you saved on FOB pricing. Know which components fail, why they fail, and what to check before the container ships. That’s the entire game.

The Lid Seal – Your Cold Air’s Last Line of Defense
The #1 cause of a portable car fridge not cooling isn’t the compressor.
You pull the fridge out after a season of camping, plug it in, the light comes on, but it never gets cold. Before you blame the compressor, check the lid seal.
A cracked gasket lets cold air escape, so the compressor runs non-stop and the interior never reaches set temperature. Seal replacement costs under $5. Compressor repair runs past $100.
Why the seal cracks
UV exposure through the windshield, ozone from car electronics, and oil vapors from the cabin degrade the rubber. Temperature swings inside a parked car accelerate the damage. Seals typically start cracking within 2-3 years.
The Ningbo-based portable fridge factory behind KelyLands’ car fridge line has built mini refrigeradores e coolers automotivos since 2018. Its support stock covers replacement lid seals, latches, and drain plugs, so a car fridge lid seal replacement doesn’t require engineering work.
Cleaning the seal without tearing it
Wipe the gasket with a soft cloth and mild soapy water. Skip solvent-based cleaners and abrasive pads — they create micro-tears that turn into leak paths. After cleaning, apply a thin layer of food-grade silicone grease to keep the rubber pliable.
The 30-second test for slow leaks
Close the lid on a piece of paper and pull. If it slides out easily, the seal is loose or cracked. If you feel resistance, the gasket is still sealing. For a second check, shine a flashlight around the closed lid in a dark car and look for light bleeding through.
Catch the leak early and the fix is a part that costs less than a round of coffees. Ignore it, and the compressor burns out — turning a $5 problem into a $100+ failure.

Drainage – Condensation Has to Go Somewhere
A cracked drain plug doesn’t leak visibly—it rusts your mounting brackets from the inside out.
Condensation inside a portable car fridge is normal. Every time you open the lid, warm humid air rushes in and hits the cold interior, leaving water droplets behind. The drain channel moves that water out through a tube that exits the fridge floor. When that channel clogs, the water has nowhere to go except pool under your food, or worse, leak through a cracked plug and soak the floor of your vehicle.
The drain tube: clear it without puncturing it
A blocked drain usually contains food debris, dust, or ice. A pipe cleaner or a thin, flexible wire will clear it. Do not use a screwdriver or anything sharp—one slip and you’ve scored the interior liner. If ice is the culprit, pour warm water through the drain hole, not boiling water. Extreme heat can warp the plastic channel and make the leak permanent.
Drain plug material: rubber vs. hard plastic
Most fridges ship with a rubber drain plug. Rubber seals well initially, but it degrades—becomes sticky, then brittle—and eventually lets water seep out. Hard plastic plugs resist that breakdown but crack under pressure if someone forces them back in misaligned. The better spec is a silicone plug, which holds its shape through temperature swings and doesn’t bond to the drain housing over time. Replacements cost a fraction of a compressor service call, so it’s a short conversation to have with your customers.
-
- Check after long trips: Look for moisture around the drain plug area. A dry-looking crust is a sign of a slow leak that will eventually rust the mounting bolts underneath.
- Provenance: Inspect the seal for surface tears when you clear the tube. The fridge that KelyLands partners with for production uses a recessed drain channel that reduces snagging during cleaning.
Latch and Hinge – Jammed Doors and Cracking Shells
The latch is the cheapest part of the door — but the one that generates the most field complaints.
Distributors see ‘car fridge latch stuck’ complaints and assume a bad batch. In most cases, the latch is fine — sand and dust have turned the mechanism into a grinding wheel. The fix takes less time than writing the support email.
Sand and grit in the latch mechanism
Off-road use pushes fine dust into the latch cam, not the visible handle. Every open/close cycle grinds grit against the pivot, so the latch starts clicking without releasing. Blow the latch cavity out with compressed air after beach and desert trips. A 12V compressor with a blow nozzle is enough.
If the latch already binds, remove the cover and brush the cam slot clean before forcing anything. Forcing a grit-packed latch only damages the molded plastic housing. That turns a $2 cleaning job into a shell repair.
Lubricating with food-safe silicone grease
Use food-grade silicone grease, not petroleum grease. Petroleum products soften plastic and attract more dirt, creating a paste that accelerates wear. Put a thin film on the latch cam and pivot points, cycle the latch five times, then wipe off the excess.
KelyLands’ mini geladeira e cooler para carro line comes with latch pins, seals, and drain plugs in its spare parts kits. That is deliberate: when an end customer is far from a repair point, a small spare keeps the fridge running instead of creating a return.
Detecting hinge pin wear before the door cracks
Hinge pin wear shows up before the shell cracks. Close the lid, grab the latch side, and lift. Vertical play means the pin sleeve is worn. The pin is the cheap part; the lid shell is the expensive one. Replace the pin before customers end up with a cracked hinge boss.
After rough trips, check hinge screws too. On KelyLands fridges, the mounting bolt spec is 8–10 Nm. A loose hinge bolt lets the lid shift during driving, which accelerates pin wear and misaligns the latch. Tighten to spec, not to feel.
Power Cables and Battery Protection – Preventing Load Failure
Most “not cooling” callbacks are voltage problems, not compressor failures.
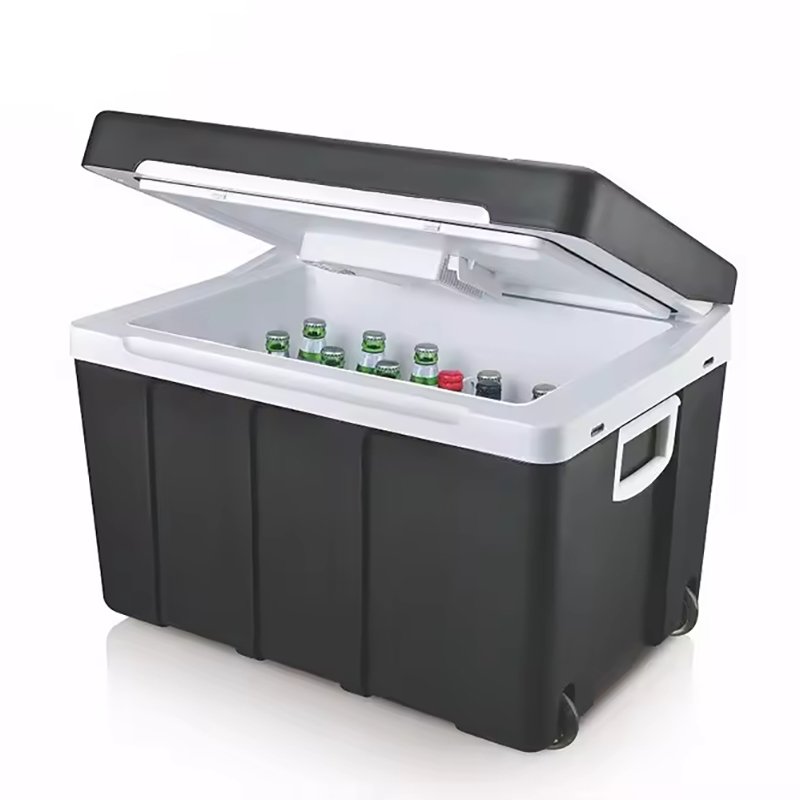
The classic field symptom: the fridge display lights up, but the compressor never runs. The cause is de queda de tensão under load. A 60W geladeira portátil pulls several amps at startup. Thin or corroded cables drop the input voltage below the 11.5V cutoff, so the compressor shuts itself off before it starts.
KelyLands geladeiras portáteis run on DC 12V/24V input at 60W and use a SECOP or equivalent compressor. That low-voltage cutoff is a protection feature, not a fault. If a unit “lights up but won’t cool,” test the voltage at the fridge input first. Below 11.5V means the problem is on the power side, not the cooling side.
Check the Cigarette Lighter Plug and Wire Gauge
The cigarette lighter plug is the weakest link in the system. Spring contacts corrode, lose tension, and develop resistance under load. If the plug feels warm while the fridge is running, or the fridge resets when the vehicle hits a bump, that’s a bad connection. Replace the plug or hardwire the fridge.
-
-
- Voltage test: Measure at the fridge input with the compressor running. Anything below 11.5V means the cable or plug is robbing power.
- Wire gauge: Use 10 AWG or thicker for any 12V run longer than 10 feet. Factory-supplied skinny cables can pass a bench test and fail in a hot car.
- Hardwire option: Run 10 AWG to the battery through an in-line fuse. This removes the plug and socket contacts entirely, which are the two most common failure points.
-
Set the Battery Protect Function for Your Vehicle
Most portable fridges offer three battery protect levels: Low, Medium, High. Medium is the right default for most vehicles — it keeps the fridge running without draining the starter battery. On a secondary battery setup, Low gives longer runtime, but the risk of deep discharge is yours to manage.
-
- Baixo: Best for auxiliary or leisure batteries where deeper discharge is acceptable.
- Médio: Safe default for the starter battery in most cars and SUVs.
- Alta: Protects sensitive vehicle batteries, but the fridge may shut off early on hot days.
If a customer’s fridge keeps cutting out overnight on the Medium setting, the fridge isn’t the problem. Check the cable run, clean the terminals, and confirm the battery is healthy. Those three steps resolve more field failures than any spare compressor ever will.
Mounting and Vibration – Keeping the Base Intact
Vibration doesn’t kill the compressor first.
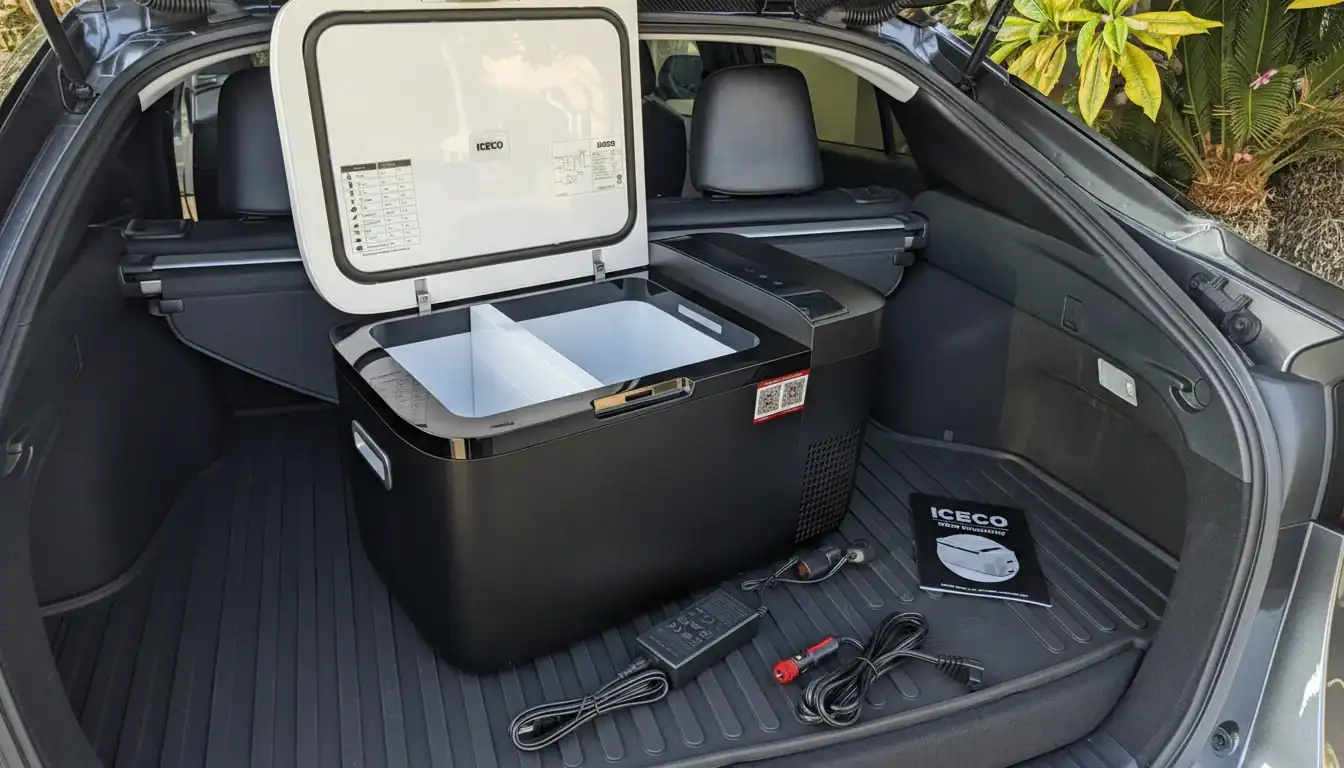
A portable fridge bolted to the floor of a 4×4 absorbs thousands of vibration cycles per kilometer on a corrugated gravel track. The mounting system’s job is to isolate that energy before it reaches the base shell. When grommets harden or bolts loosen, the shell becomes the stress point — and that’s where cracks start.
Rubber grommets and compressor noise
O compressor in a 12V fridge sits on rubber grommets for exactly one reason: to keep vibration from reaching the housing. Heat and ozone inside a parked car accelerate the hardening of those grommets. Once they lose flexibility, compressor vibration transmits straight into the base. A fridge rated at 45dB starts sounding like 60dB, and stress marks appear around the mount points.
-
- Replacement: Silicone grommets resist heat and ozone far better than natural rubber, so they keep the compressor isolated for a longer service life.
- Binário: Mounting bolts should sit at 8–10 Nm. Below that range, they work loose under sustained vibration.
You can spot worn grommets before they crack the shell. Run the fridge with the lid closed and place a hand on the base. If you feel a buzz rather than a low hum, the isolation mounts are done and need replacing.
 Checking bolts before washboard roads
Loose bolts aren’t just a noise issue; they multiply shock loading across the base shell. On corrugated roads, that stress shows up as hairline cracks around the mounting bosses. A thread-locking compound on every bolt and a torque check after any rough trip prevents the most common base-shell fracture pattern seen in the field.
The hidden cost of a flexing base shell
A flexing base shell also misaligns the drain tube, which makes water pool inside instead of draining out. It torques the lid seal, opening a micro-gap that leaks cold air and forces the compressor to run longer. Both failures share the same root cause: mounting on a surface that wasn’t flat and rigid.
KelyLands has operated a dedicated Ningbo fridge production facility since 2018, and the mounting bosses on those units are designed around the 8–10 Nm torque range so distributors don’t inherit undertorqued-bolt failures. That matters when your export team manages partnerships with over 500 clients across more than 50 countries — every return eats margin.
When to Send It Back or Replace – Factory Support
A seized compressor is rare.
Most portable fridges returned as “dead” are not dead. The compressor runs, the light is on, but the box never gets cold. A cracked lid seal forces the compressor to run continuously, which looks exactly like a compressor fault to the end user.
Compressor fault or a serviceable part? Run this check first
Three symptoms point to a true compressor fault: the compressor body stays cold while the interior warms, the relay clicks without startup, or the unit draws power but never kicks in. Test with a known-good 12V source first — below 11.5V, the low-voltage cutoff blocks startup.
A seized compressor or failed start capacitor needs bench service. That runs over $100 with labor. A lid seal costs under $5 and takes minutes to replace. That cost gap is why every field failure needs a parts inspection before authorizing a return.
-
- Serviceable in the field: Cracked lid seal, clogged drain tube, jammed latch, corroded plugue 12V contacts, worn hinge pin. The seal costs under $5; the rest swap out with basic hand tools.
- Factory repair or replacement: Seized compressor, failed start capacitor, cracked shell from hinge stress, punctured drain tube. These need bench service and typically exceed $100.
A return shipment costs freight both ways and pulls inventory off the shelf for weeks. For a distributor, that math only makes sense when the compressor is truly at fault. Send the spare seal kit instead — the customer fixes it on site, and you avoid the return logistics bill entirely.
What KelyLands covers after the sale
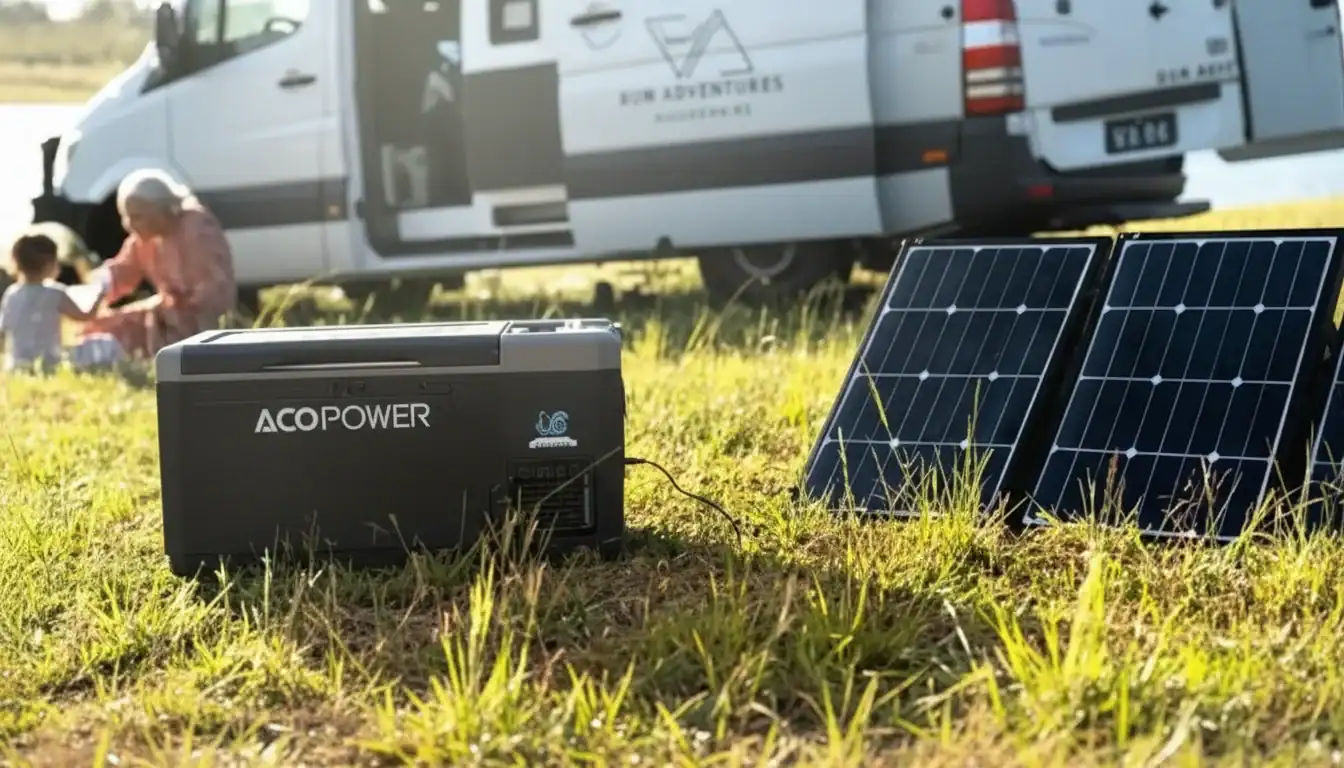
KelyLands stocks replacement kits — seals, latches, drain plugs, hinge pins — for its portable fridge line with SECOP or equivalent compressors. The 2018 partnership with a Ningbo-based fridge factory secured competitive pricing and reliable delivery, and that extends to spare parts, not just complete fridges.
For OEM/ODM clients, after-sales coverage includes custom troubleshooting manuals and a dedicated service contact, so field failures get resolved without time-zone email ping-pong. The export sales team manages partnerships with over 500 clients across 50+ countries — the spare parts pipeline exists because these units ship worldwide.
Conclusão
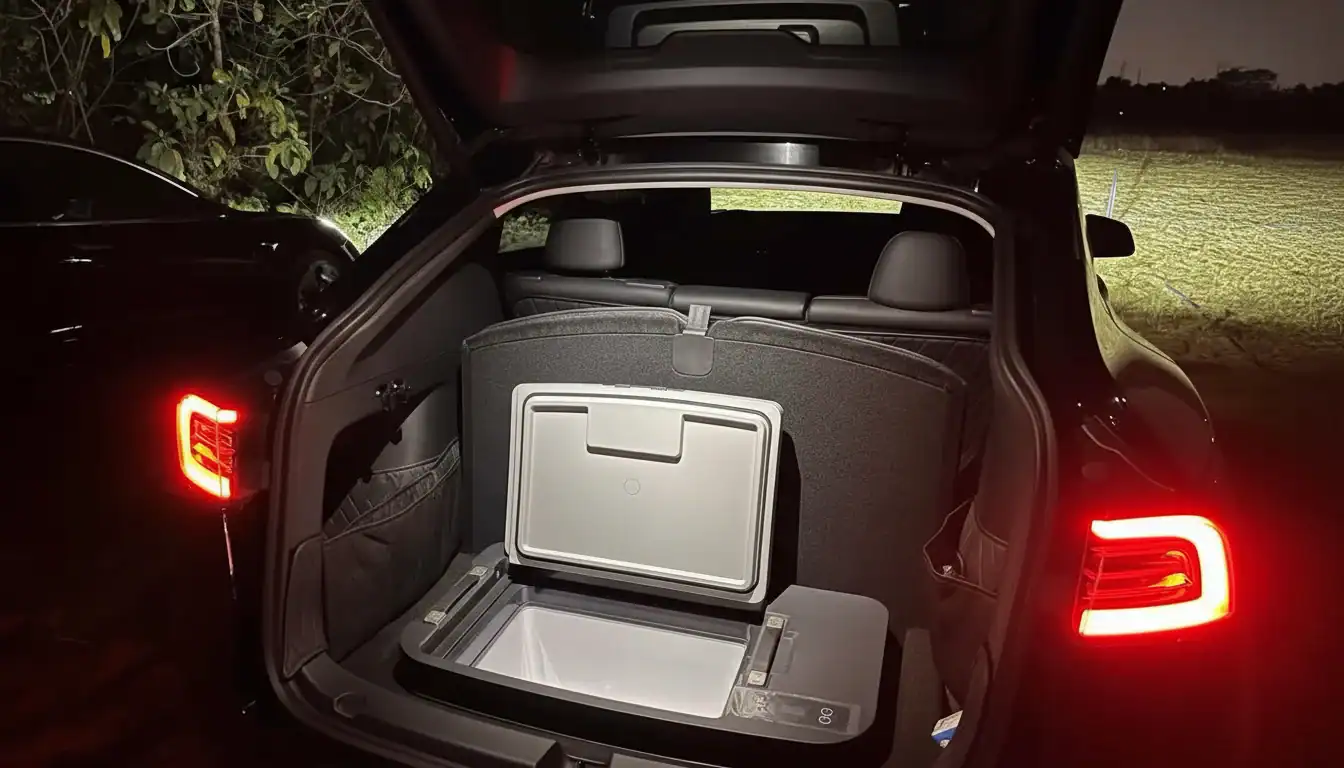
A portable car fridge fails most often at its cheapest parts. A degraded lid seal forces the compressor to run non-stop until the unit reads as broken, when a $5 replacement would have avoided a $100+ repair. The steps above — gasket inspection, drain clearing, latch lubrication, and wiring checks — are the difference between a field failure and years of reliable service.
-
- A damaged lid seal causes most not-cooling failures; replacement runs under $5 versus $100+ for compressor work.
- UV and ozone degrade fridge gaskets within 2-3 years, so inspect seals every spring and before long trips.
- Voltage below 11.5V triggers compressor shutdown; hardwire with 10 AWG wire for runs over 10 feet.
- Check hinge pin play and mounting bolt torque (8-10 Nm) after rough off-road trips to avoid shell cracks.
Before your next purchase order, ask your supplier for three documents: the seal replacement part number, the drain plug material spec, and after-sales failure data on seal, drain, and latch components. A supplier who answers those questions without a follow-up call will protect your brand reputation when fridges fail in the field. Review the KelyLands geladeira para carro range and request the factory test specs for seal compression and drain flow before committing.
Perguntas frequentes
Por que o refrigerador do meu carro não está resfriando, mas a luz está acesa?
A causa mais provável é uma vedação da tampa danificada, permitindo que o ar frio escape e impedindo que o compressor atinja a temperatura ideal. Verifique se há rachaduras ou folgas na vedação; se a luz interna permanecer acesa. Realize o teste do papel na vedação da tampa antes de substituir quaisquer peças.
Como faço para limpar o orifício de drenagem do meu refrigerador portátil?
Utilize uma escova macia ou cotonete com água e sabão neutro para limpar o orifício de drenagem. Evite ferramentas metálicas rígidas, pois podem rachar a tampa de drenagem e permitir a entrada de umidade nos componentes da suporte. Enxágue com água limpa e seque o canal após a limpeza.
Qual é a melhor forma de lubrificar a trava da porta do frigobar do carro?
Limpe o mecanismo da trava primeiro, depois aplique uma camada fina de graxa de silicone nos pontos de contato em movimento. Evite produtos à base de petróleo, pois atraem poeira e podem danificar plásticos ou borrachas. Acione a trava algumas vezes e retire o excesso.
Posso substituir a junta da tampa de um gelador de carro por conta própria?
Sim, desde que você consiga combinar o perfil da vedação antiga ou adquira uma tira de vedação universal. Limpe a ranhura, encaixe a nova vedação uniformemente e evite esticá-la ao fechar a porta. Faça o teste do papel ao longo de todo o perímetro antes de carregar o refrigerador.
How do I prevent my car fridge from draining the battery?
Use the fridge’s built-in low-voltage cutoff or set a battery protection level so it shuts off before the car won’t start. For overnight use, connect to an auxiliary battery rather. Confirm the cutoff voltage matches your vehicle battery type before long trips.

 English
 Español
 Français
 Deutsch
 Português do Brasil
 Русский
 한국어
 日本語
 العربية