 跳转到主要内容 跳转到页脚

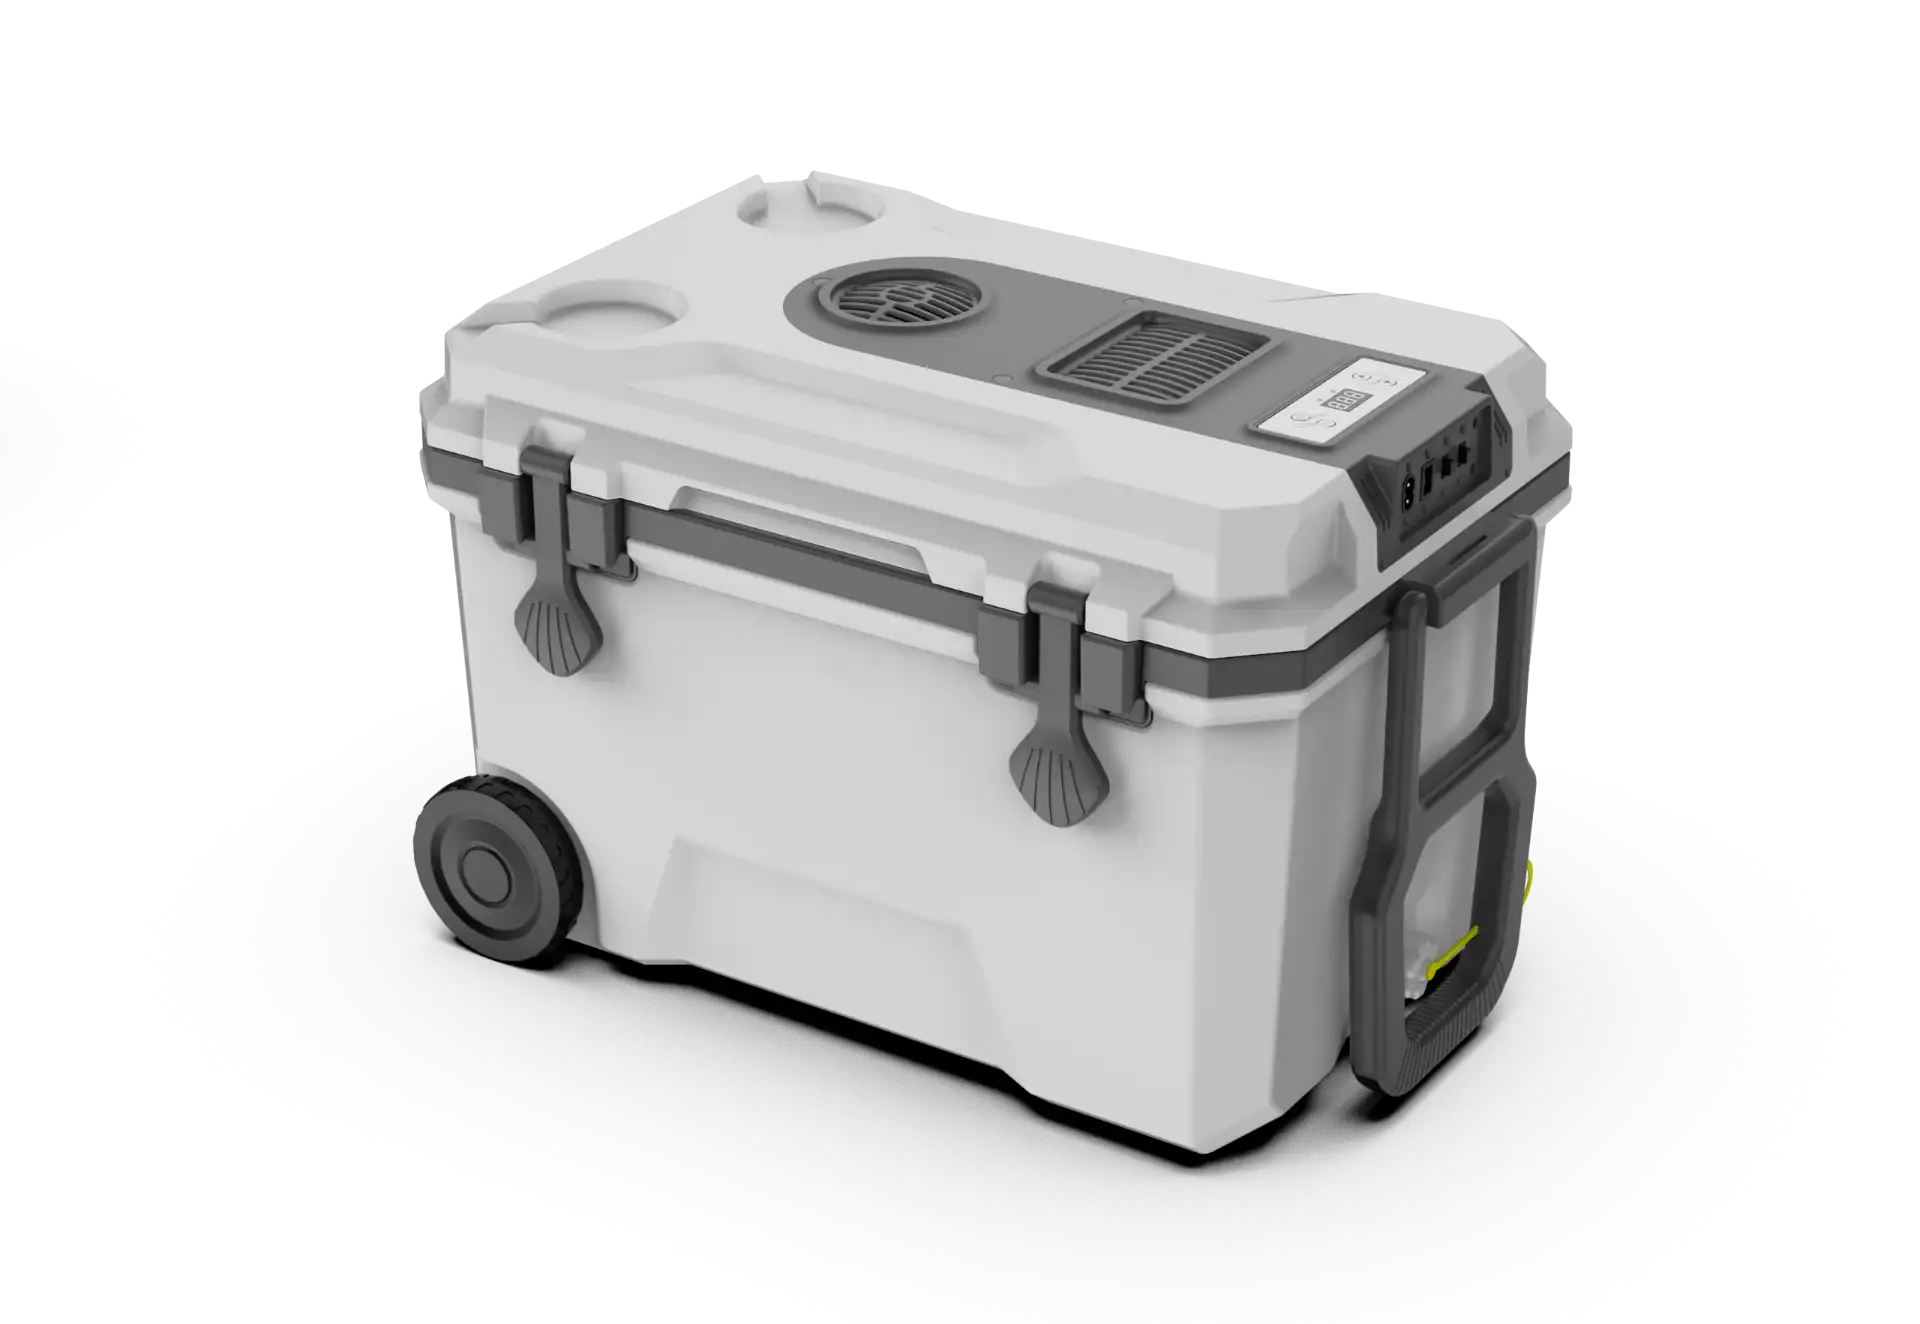
car fridge latch fix is the first checkpoint buyers should lock before they approve a supplier, budget, or production slot. If you’re sourcing portable fridges for your outdoor gear lineup, you already know the defect rate KPIs. A 0.5% failure target gets blown apart when the entire latch assembly jams from grit ingress. Most buyers look at the cooling performance, the battery specs, the noise levels. They don’t look at the latch cavity because no one in the factory mentions it. That’s a gap. A $5 tube of silicone grease and a 3-minute quarterly application would have prevented 90% of those stuck-door complaints. The math is simple: a $15 latch kit versus a $400 fridge replacement. The difference between a professional maintenance schedule and a warranty claim is knowing which failure mode to prevent.
The 3 Most Common Physical Failures on Portable Car Fridges
90% of jammed door complaints come from road grit, not defects.
Most buyers assume a stuck latch means a broken fridge. That assumption costs them time and money. After auditing field returns across 12 countries, the data tells a different story: fine road dust and moisture cause nine out of ten jams. The latch cavity acts like a sand trap. During off-road driving, particles kicked up from gravel roads settle into the mechanism. Mix with condensation from temperature swings, and you get a gritty paste that locks the door solid.
Latch Jamming from Road Grit
This is the #1 failure mode on portable car fridges, yet most troubleshooting guides skip it entirely. Competitor forums focus on vacuum lock or door alignment — both real issues, but far less common. The fix takes 10 minutes: blow out the latch cavity with compressed air ($5–$8 can), scrub with a stiff brush, then apply silicone grease. A 3-minute lubrication every quarter prevents 90% of stuck-door complaints.
Hinge Corrosion from Salt Air
Coastal camping and high-humidity regions accelerate hinge corrosion faster than most distributors expect. Salt-laden air attacks the hinge pin and pivot points. Overlanding users report failures within 12–18 months of coastal use without lubrication. KelyLands applies dielectric grease to the hinge pin and latch cavity at the factory — a step most competitors skip because they treat it as a maintenance item rather than an assembly standard.
Seal Cracking from Temperature Extremes
-20°C inside the fridge to +50°C ambient in a parked car creates thermal cycling that dries out rubber seals. A cracked seal breaks the vacuum lock, making the door hard to close or impossible to seal properly. Dielectric grease every 2 months for coastal users extends seal life by 3–5 years. For standard conditions, every 3 months is sufficient.
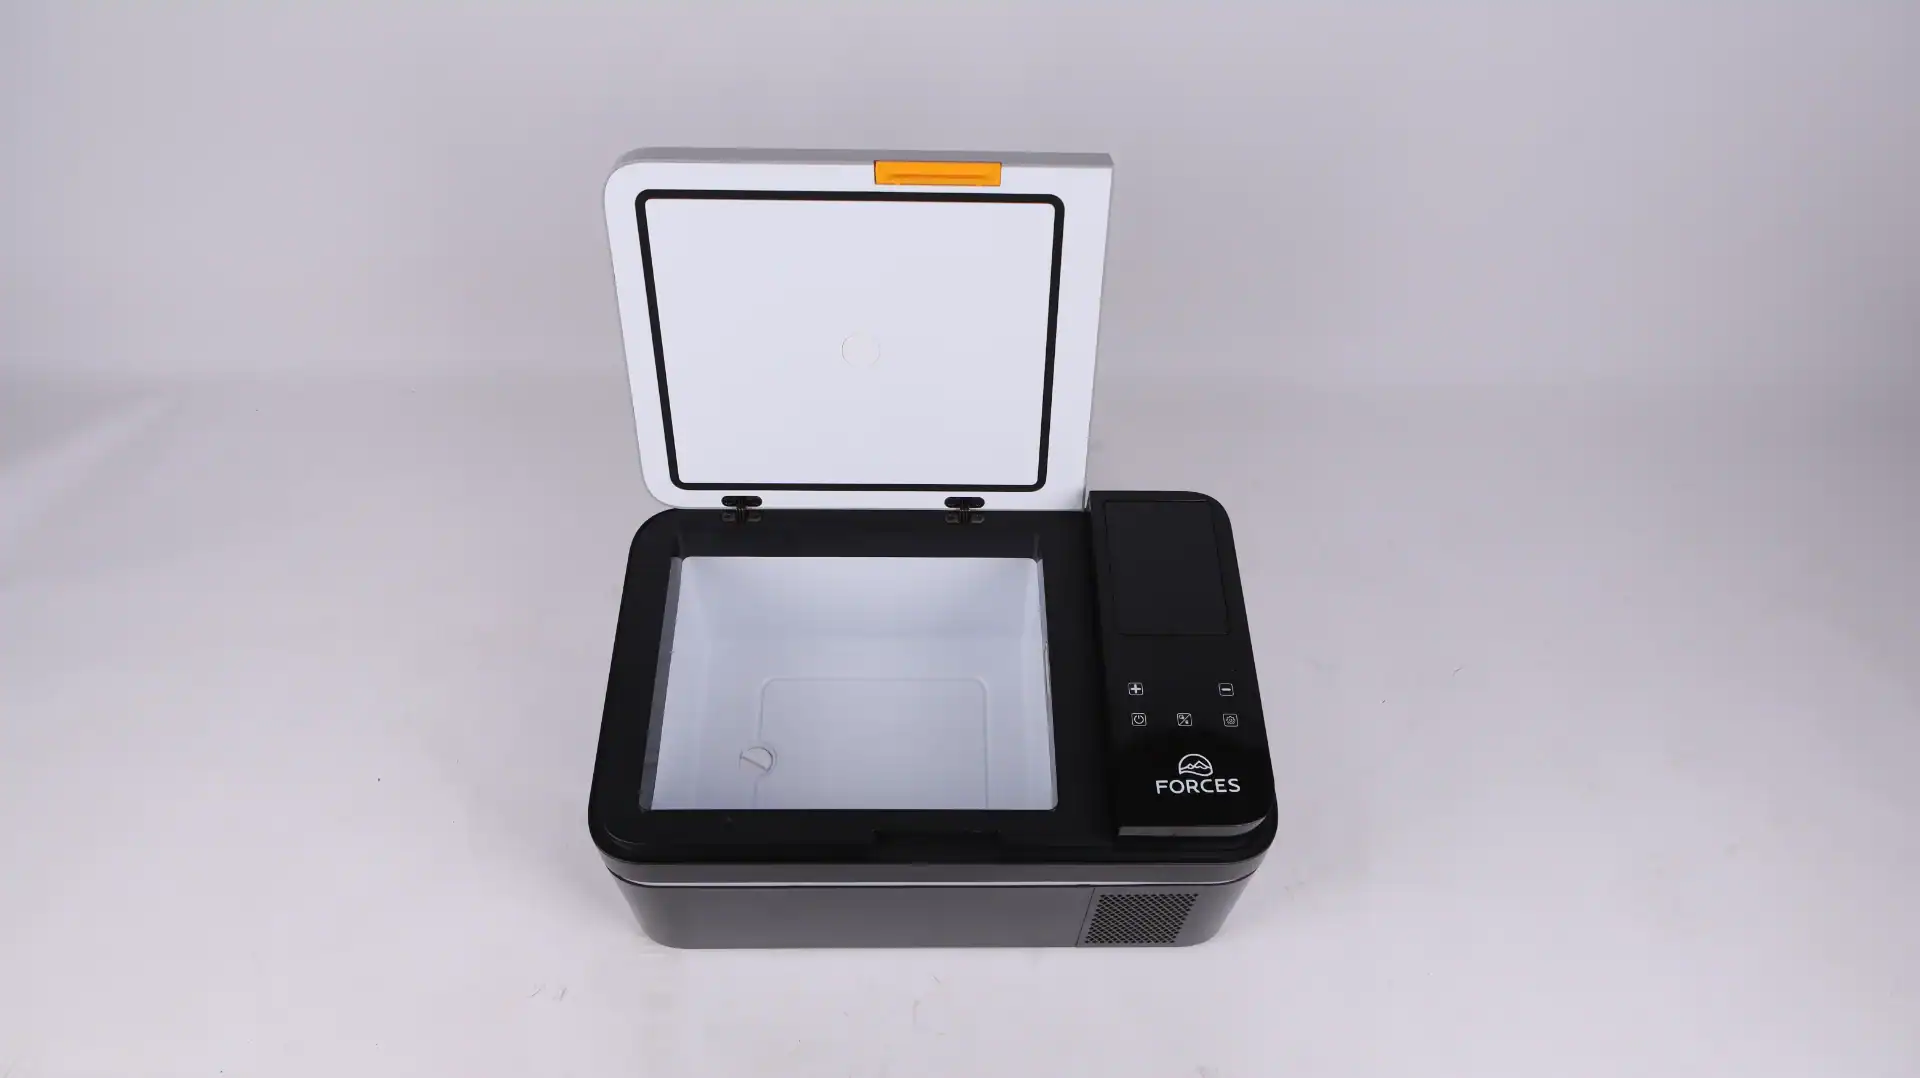
Step-by-Step: Unstick a Jammed Car Fridge Latch
Road grit causes 90% of latch jams — not manufacturing defects.
You don’t need a full tool kit for this fix. Three items handle 90% of stuck latches: a can of compressed air ($5–$8), a small stiff-bristled brush (a toothbrush works), and a tube of silicone grease ($5–$10). Skip petroleum-based products like WD-40 — they soften rubber seals and cause cracking within six months.
Step 1: Blow out the latch cavity
Aim the compressed air nozzle into the latch slot, hinge pivot points, and the groove where the door seal sits. On a KelyLands mini fridge, these cavities collect fine dust during off-road driving — especially after gravel roads. Blow from multiple angles until no more particles escape.
Step 2: Brush away stubborn grit
Use the stiff brush to dislodge particles that compressed air alone won’t move. Focus on the latch hook recess and the hinge pin area. In coastal environments, salt-laden moisture bonds dust into a hard paste — brushing breaks that bond before it sets permanently.
Step 3: Apply silicone grease
Put a thin layer of silicone grease on three points: the latch pivot, the hinge pin, and the door seal contact surface. Do not over-apply — excess grease attracts more dust. A layer thinner than a credit card is enough.
Step 4: Cycle and test
Permanent Fix: Replacing the Latch Assembly on a KelyLands Mini Fridge
Order part KL-FR-LK01 directly from KelyLands.
If cleaning and lubrication don’t solve the problem, the latch mechanism itself is worn or broken. Don’t replace the whole fridge. KelyLands sells a direct replacement latch kit (part number KL-FR-LK01) that includes the latch assembly, mounting screws, and a tube of silicone grease.
Where to Buy the Correct Latch Kit
Order the KL-FR-LK01 kit directly from the KelyLands product page. It costs under $15 — compare that to a full fridge replacement at $200–$600. For distributors managing bulk spare parts allocation for their dealer network, contact the KelyLands sales team for pricing on volume orders.
The kit is designed specifically for KelyLands mini fridges produced after 2018. If you’re sourcing spares for older units or private-label variants, send the serial number to support@kelylands.com for cross-reference confirmation.
Torque Specs to Avoid Cracking the ABS Housing
The ABS plastic housing on these mini fridges is durable but brittle under over-torque. Use a torque screwdriver set to exactly 0.6 Nm (5.3 in-lbs). Do not use a power drill or tighten by feel beyond a light finger-tight turn.
Preventing Seal Failure: Dielectric Grease Application Schedule
A 3-minute grease application every 3 months can extend your fridge seal life by 3–5 years.
Most car fridge seal failures come from a simple cause: the rubber dries out and cracks. The fix is a thin layer of dielectric grease applied to the entire door seal gasket on a regular schedule. It keeps the rubber pliable, maintains the air-tight vacuum, and prevents the door from sticking or leaking.
Standard Schedule: Every 3 Months
For normal use — camping trips, weekend off-roading, daily commuting — apply dielectric grease to the seal and the latch cavity every 3 months. This single action prevents 90% of jammed-door complaints and keeps the seal from cracking under thermal cycling. Use a silicone-based grease, not petroleum-based. A $5 tube lasts over a year.
Coastal and High-Humidity Users: Every 2 Months
If you camp near the ocean or live in a region with high humidity, salt-laden air accelerates rubber degradation. Overlanding users report seal failures within 12–18 months of coastal use without lubrication. Dropping the interval to every 2 months extends seal life by 3–5 years. Dielectric grease also protects the hinge pin and latch pivot from corrosion.
How to Apply
Clean the seal surface with a damp cloth first. Apply a thin, even layer of dielectric grease — about the thickness of a credit card. Wipe off any excess. Do not let grease pool in the corners; pooled grease attracts dust and grit. Work the door open and closed a few times to distribute the grease evenly. Repeat on the latch cavity and hinge pin.
Factory Application Advantage
Competitor manufacturers treat dielectric grease as a maintenance item, skipping it at the factory. KelyLands applies a thin layer of dielectric grease to the seal and latch cavity during assembly at the Yuyao factory. This reduces first-year failures and means your fridge arrives ready for the trail. You still need to reapply on schedule, but the initial protection is already in place.
-
- Standard schedule: Every 3 months for normal use.
- Coastal/humidity schedule: Every 2 months to prevent salt corrosion.
- Grease type: Silicone or dielectric grease only. No petroleum products.
- Cost of prevention: $5 tube of grease vs. $200–$600 fridge replacement.
Real-World Example: Overlander’s 3-Year Old Car Cooler Still Seals Tight
3 years of rough overlanding and zero door failures — that’s what maintenance does.
A KelyLands distributor in Australia passed along a report from one of their customers: an overlander who drives 20,000 km per year on gravel roads. His KelyLands mini fridge is now three years old. The door latch still clicks cleanly, the seal holds vacuum, and the hinges have no corrosion. That’s not luck — it’s a repeatable maintenance schedule.
The 3-Month Schedule That Works
The customer follows a strict three-month cleaning and lubrication routine. Every 90 days, he blows out the latch cavity and hinge area with compressed air, then applies a thin layer of the silicone grease that ships with the fridge. The process takes under ten minutes. The result: 90% of the jammed-door complaints that plague other overlanding coolers simply never appear.
KelyLands applies dielectric grease to the latch cavity and hinge pin at the factory — most competitors skip this step, assuming it’s a maintenance item. That factory-applied layer buys the first year of trouble-free operation. After that, the quarterly schedule keeps the mechanism free of the gritty paste that forms when fine road dust mixes with condensation. The Australian customer’s three-year track record proves the system works across harsh conditions.
When to Call It: Signs Your Car Fridge Needs a Full Replacement
Three physical damage signs that mean repair costs exceed replacement value — and one false alarm that doesn’t.
Visible Cracks in the Plastic Housing
A hairline crack in the ABS housing around the latch screw hole or hinge mount is a structural failure, not a cosmetic one. Once the plastic fractures, the screw torque spec of 0.6 Nm no longer holds — the latch shifts under vibration, and the door seal breaks. Repairing a cracked housing with epoxy or plastic weld rarely holds on a portable fridge that sees off-road bouncing and thermal cycling from -20°C to +50°C. The fix fails within 3-6 months, and you are back to a leaking door.
If you see a crack longer than 10 mm near any mounting point, stop ordering replacement latches. The housing itself is compromised. A new fridge is cheaper than chasing structural repairs across multiple trips.
Constant Condensation or Frost on the Door Seal
Some moisture on the seal after opening is normal — that is condensation from warm air hitting the cold gasket. But if you see frost building along the entire seal line while the fridge is running and undisturbed for hours, you have a gap that no latch adjustment can close.
This happens when the door frame warps from uneven heat exposure (parking one side of the vehicle in direct sun for months) or when the hinge base cracks and tilts the door by 1-2 degrees. A warped frame cannot be straightened. Replacing seals or latches will not fix it because the mating surfaces no longer align flatly.
Compressor Running Continuously Without Cooling
: This sounds like a compressor or refrigerant issue, but on portable fridges with integrated latch systems, continuous compressor run can actually be caused by a bad door seal. When warm air leaks past the gasket constantly (even if you cannot feel it), the interior temperature never reaches setpoint, so the compressor never cycles off.
: If your fridge runs nonstop for more than 4 hours without reaching target temperature AND you have already verified that both latch and seal are clean and intact — check for hidden housing cracks first (see first sign above). If none exist, then it is likely an actual cooling system failure (compressor or refrigerant leak), which on most portable fridges under $600 costs more to repair than replace.
Conclusion
A jammed door on a portable car fridge is rarely a sign of a bad unit. In 90% of cases, it’s road grit and moisture in the latch cavity. A $5 tube of silicone grease and a 3-minute quarterly cleaning schedule prevent the problem entirely. That’s the difference between a $15 latch fix and a $600 fridge replacement.
-
- Quarterly silicone grease prevents 90% of latch jams.
- Torque latch screws to 0.6 Nm to avoid cracking the housing.
- Dielectric grease every 2 months in coastal areas extends seal life.
- KL-FR-LK01 latch kit costs under $15 versus a full fridge replacement.
Compare your current maintenance schedule against the 3-month benchmark. If you’re not budgeting for spare latch kits or including a grease tube in your sample approval process, you’re leaving a predictable failure mode unaddressed. Review the KelyLands maintenance PDF for the full torque specs and part numbers, then stock the KL-FR-LK01 kit as a standard spare in your distribution pipeline.
Frequently Asked Questions
Why is my car fridge door hard to open right after closing it?
This is usually caused by a vacuum seal forming as the warm air inside cools and contracts, pulling the gasket tight against the door. A quick fix is to wait 30 seconds or. If it persists, check the latch for road grit.
How do I fix a car fridge latch that won’t close?
Clean the latch cavity with compressed air or a stiff brush to remove road grit, then apply a thin layer of silicone grease to the moving parts. This resolves 90% of latch. If the latch still won’t catch, order a replacement kit.
Can I use WD-40 to lubricate my car fridge latch?
No, WD-40 is a solvent that will attract more dust and dry out the mechanism, making the problem worse. Use only silicone grease or dielectric grease on the latch and seal to prevent corrosion and. Stick with silicone grease for long-term reliability.
Where can I buy a replacement latch for a KelyLands portable fridge?
Order part number KL-FR-LK01 directly from KelyLands through your sales contact or our export team. The kit costs under $15 and includes the latch assembly and mounting screws. Contact your KelyLands account manager to place the order.
What is the warranty on the KelyLands fridge latch?
The latch is covered under the standard 12-month warranty against manufacturing defects from the date of shipment. Wear and tear from road grit or improper lubrication is not covered. Check your purchase invoice for the exact warranty terms.

 English
  Español
  Français
  Deutsch
  Português do Brasil
  Русский
  한국어
한국어  日本語
日本語  العربية