跳转到主要内容 跳转到页脚
 Nothing ruins a camping trip faster than melted ice and warm food. This guide provides a step-by-step process to pack your cooler efficiently. Mastering these ice retention techniques, including a 2:1 ice-to-food ratio, will significantly extend cooling and keep your supplies fresh longer. Pre-chilling your cooler also dramatically improves insulation efficiency for a hassle-free adventure.
Essential Cooler Packing Principles for Camping
Mastering cooler packing starts with strategic preparation and smart layering. These core principles will prolong ice life and keep your food fresh. Proper ongoing cooler care is the final key to success.
Pre-Chill the Cooler
Begin your cooler packing process hours before you leave. Fill the empty cooler with sacrificial ice or store it in a cool basement. This pre-chilling step cools the insulation within the walls. A cold start reduces the ice’s workload and maximizes retention.
Join 300+ global partners who trust KelyLands for top-tier car accessories. Review our portable car coolers in our latest catalogue
Request now
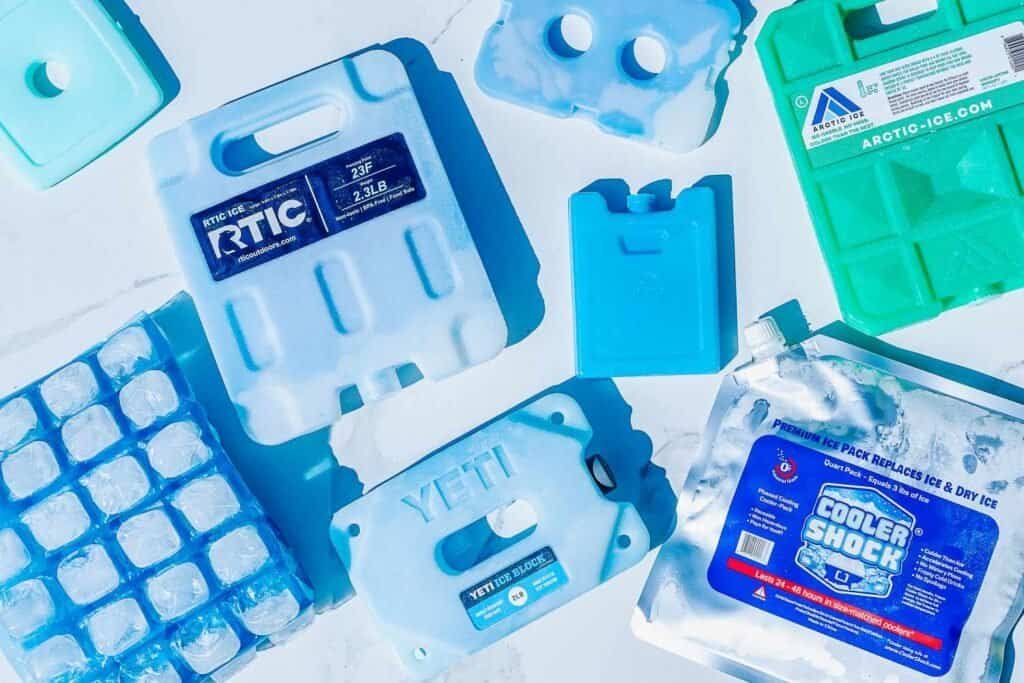
Optimize Ice and Food Layering with a 2:1 Ice-to-Food Ratio
Use twice as much ice as food for maximum cooling efficiency. Start by creating a base layer with large ice blocks or ice packs. This foundation provides a long-lasting source of cold for your entire trip.
Alternate layers of pre-chilled food with ice above this base. Place cold-sensitive items like raw meat, eggs, and dairy closest to the bottom ice. Always fill any remaining gaps with smaller ice cubes or frozen water bottles. This minimizes air pockets and ensures even cooling throughout.
| Ice Type | Melting Rate | Best Use | Additional Notes |
|---|---|---|---|
| Large Ice Blocks | Slow | Base layer for long-lasting cold | Less surface area creates slower melt |
| Small Ice Cubes | Fast | Fill gaps to reduce air pockets | Cool fast but melt quickly |
| Frozen Water Bottles | Moderate | Dual use for cooling and drinking | Won’t create wet soggy food |
| Ice Packs | Variable (usually slow) | Lining edges, reusable option | Avoid direct contact with vegetables to prevent freezing |
Minimize Air Space and Maximize Fullness
Air is the enemy of ice retention inside your camping cooler. Fill your cooler completely with ice and food to minimize empty space. Use extra towels or additional ice to fill any remaining voids. Avoid packing loosely to prevent air pockets from forming.
Organize and Pack Strategically
Place items you will need to access first near the top of the cooler. This allows for quick retrieval without digging through everything. Keep highly perishable items insulated near the bottom ice layers.
Use leak-proof containers or sealed bags to avoid sogginess. This also prevents cross-contamination from raw meat juices. Strategic organization is key to both food safety and convenience.
Partner with a trusted supplier to elevate your product offerings. Our ISO-certified car fridges, and EV chargers meet global standards (CE, FCC, RoHS). Request our latest catalogue to discover cost-effective solutions for your business.
Limit Cooler Opens and Store in Shade
Frequent opening drastically reduces the internal temperature. Each opening lets valuable cold air out and warm air in. This accelerates ice melt and shortens your cooling window.
Always keep the cooler in a shaded spot away from direct sun. You can also cover it with a wet towel or reflective material. Placing the cooler on an insulating mat off the hot ground also helps.
Consider Using Two Coolers for Best Results
For extended trips, a two-cooler system is highly effective. Use one cooler for drinks and snacks that get accessed frequently. Keep a second cooler sealed for food that remains unopened until needed.
This separation dramatically improves ice retention in your main food cooler. It is one of the best methods for long-term cooler packing efficiency.
Use Salt or Dry Ice with Caution
Adding salt to ice can lower its freezing point in warm environments. This simple trick can extend the functional life of your ice. Dry ice lasts much longer and can keep food frozen.
Handle dry ice with care and ensure proper ventilation. Never place it directly on food; use a cardboard barrier. These methods require caution but offer powerful cooling benefits.
Tailored Car Coolers for Every Journey
Equip your brand with KelyLands’ customizable thermoelectric and compressor car coolers designed for versatile use—from road trips to offices. Benefit from trusted quality, global certifications, and flexible OEM/ODM options that meet your business needs with excellent performance and precise temperature control.
Frequently Asked Questions
What is the best ratio of ice to food when packing a camping cooler?
The optimal ratio is two parts ice to one part food. This 2:1 ratio is crucial for maximizing ice retention. It ensures a cold internal temperature is maintained for as long as possible.
How should I organize items inside my cooler for optimal cooling and access?
Start with large ice blocks at the bottom as a base layer. Place sensitive perishables like meat and dairy directly on this ice. Keep frequently used drinks and snacks near the top for easy access.
Why is pre-chilling the cooler important and how do I do it?
Pre-chilling cools the cooler’s internal insulation before you pack it. Do this hours ahead by filling the empty cooler with sacrificial ice. This simple step significantly reduces the rate of ice melt once packed.
Are frozen water bottles better than loose ice?
Frozen water bottles offer a fantastic dual-purpose solution. They provide cooling power without creating a soggy mess as they thaw. You also get cold drinking water as a bonus.
Should I open my cooler frequently during camping?
Minimize how often you open the cooler. Every opening releases cold air and lets warm air in. This causes the ice to melt much faster, so open it only when necessary.